Luxury Leather Handbag Edge Painting: Five Decisions at the Bench and Where Each One Fails
What is edge painting on a luxury leather handbag? A water-based or solvent-based polymer applied to the cut edge of the leather in 3-5 coats at 0.10-0.15 mm each, sanded between coats at 400-600 grit and dried at 60-70°C, to seal the fibre and give the edge a single continuous surface. It is chosen over a burnished or turned edge where the edge is thick, the leather is finished, or a precise colour match to the body is required.
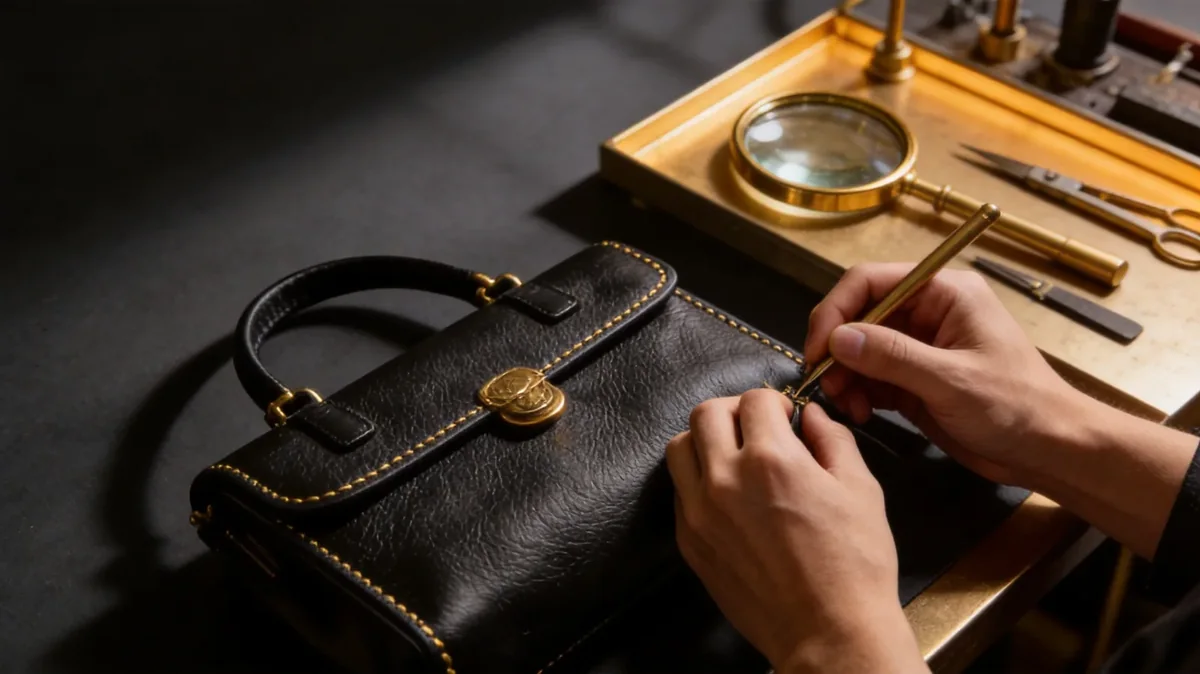
The Decision Tree: Five Choices at the Edge
Every edge on a handbag answers the same five questions in the same order. Teams that answer them out of order, usually by choosing the colour first, produce an edge that looks right on the sample and cracks on the second lot.
The order is: construction, substrate, paint family, coat sequence, and only then colour. Colour is last because it is the only one of the five that can be changed without changing anything structural.
- Construction: is the edge painted, burnished, turned or bound by another piece?
- Substrate: how thick is the edge, and is the leather finished or absorbent?
- Paint family: water-based or solvent-based, and what flexibility it carries.
- Coat sequence: how many coats, at what build, with what drying between them.
- Colour: matched to the body, to the thread, or deliberately contrasted.
Painted, Burnished, Turned or Bound: Four Constructions
Four constructions close the cut edge of a panel, and each suits a different combination of leather, thickness and look. Painted is the most controlled and the most demanding at the bench; burnished is the oldest and it only works on an absorbent, unfinished edge.
| Construction | Where it suits | Build at the edge | What it costs |
|---|---|---|---|
| Painted | Finished leather, edges 1.5-3.0 mm, exact colour required | 0.4-0.6 mm total, 3-5 coats | Bench time and drying between coats |
| Burnished | Vegetable tanned, unfinished, absorbent edge | No build; the fibre is compressed | Only works on the right leather |
| Turned | Thin leather at 0.8-1.0 mm, soft bodies | A fold of 5-6 mm, no added material | Substance at the fold, and panel area |
| Bound | Where the edge takes most of the abrasion | A separate binding strip, 8-12 mm | A second component and a second seam |
The third row is often overlooked in favour of paint, and it is the right answer on a soft body in thin leather. A turned edge adds no material and no colour-matching problem, and it removes the edge as a failure point altogether.
What Is in Edge Paint, and Why It Cracks
Edge paint is a polymer dispersion or solution carrying pigment, a binder and a flexibiliser. It cracks when the film is less flexible than the movement beneath it: a gusset edge flexes hundreds of times a day, and a rigid film on a moving substrate fails at the fold.
Most cracking reported in the second year is not a paint defect. It is a specification error, where a hard, high-gloss paint was chosen for a part of the body that flexes, or where too many coats were applied and the film became thick enough to lose its elasticity.
- Water-based dispersions: lower odour, easier compliance, longer drying between coats.
- Solvent-based solutions: faster drying, deeper gloss, a heavier compliance load.
- Flexibiliser content: governs whether a film survives a gusset fold or cracks at it.
- Pigment load: governs opacity, and high load makes a film more brittle.
- Gloss level: matte, satin or gloss, chosen as a look and as a maintenance decision.
The Coat Sequence: Five Steps at the Bench
A painted edge is built, not applied. Five steps, repeated per coat, produce an edge that reads as a single continuous surface rather than as paint sitting on a rough cut.
- Edge preparation
- Cut edge sanded flush, 320 grit, corners eased so paint does not pull back
- First coat
- 0.10-0.15 mm, thin enough to penetrate the fibre rather than bridge it
- Intermediate drying
- 4-6 minutes at 60-70°C, or air dried where the paint family allows
- Sanding between coats
- 400-600 grit, light enough to level without cutting through
- Final coat count
- 3-5 coats, total build 0.4-0.6 mm, each thinner than the one before
The first coat does the work and the last three do the appearance. A first coat applied thickly bridges across the open fibre instead of sealing it, and every coat after that sits on a film that was never bonded to the leather underneath.
Drying, Sanding and the Coat That Does the Work
Drying between coats is where bench time is spent and where shortcuts are taken. Four to six minutes at 60-70°C is enough to flash the carrier off without skinning the surface, and it is the step most often compressed when a line is behind.
Sanding between coats at 400-600 grit levels the film and gives the next coat something to hold. Sanding too aggressively cuts through to the previous coat and leaves a ridge at the edge of the sanded area, which is visible once the final coat goes on.
Dries too fast
The surface skins while the carrier is still beneath it. The trapped carrier then lifts the film weeks later, as blisters along the edge rather than as a crack.
Dries too slowly
Dust settles into a film that is still tacky, and the final surface reads as grit under raking light. Slow drying also lengthens the bench cycle considerably.
Under-sanded
Each coat copies the texture of the one below it, so the final surface carries the roughness of the first coat amplified rather than levelled.
Over-sanded
The previous coat is cut through in places, and the final film shows a ridge at the boundary. It is visible from arm's length and it cannot be corrected after the last coat.
Colour: Matching the Edge to the Body and the Thread
Edge colour has three options and each says something different. Matched to the body, the edge disappears and the panel reads as a solid; matched to the thread, the seam line is emphasised; contrasted, the edge becomes a deliberate outline.
Matching to the body is the hardest of the three and the most common request, because the eye reads the edge against the panel it belongs to. Hold the difference to ΔE 1.5 or below, measured on the dried film rather than in the pot, since edge paint dries darker than it applies.
Substrate: Skiving and Edge Preparation Before Paint
Paint cannot rescue a badly prepared edge. A cut edge that is uneven, or one where two plies of different substance meet, will show through every coat, because paint follows the substrate rather than filling it.
- Sand the cut edge flush at 320 grit before the first coat, not between coats only.
- Ease the corners so the film wraps rather than pulling back from the arris.
- Match substance where two plies meet, so the edge has no step in it.
- Skive to 0.7-0.8 mm at a fold before painting, with the setting recorded.
- Clean the edge of dust and body oils, which defeat the first coat's bond.
The third item is the one that shows most often on a folded flap. Two plies of different substance produce a step at the edge, and paint applied over a step either bridges it or follows it, and neither looks deliberate.
Where Edge Paint Fails First, and Why
Edge failures cluster in three places, and each has a different cause. Knowing which place you are looking at tells you which of the five decisions was wrong.
| Where | What it looks like | What caused it | The fix |
|---|---|---|---|
| Gusset fold | A crack along the fold line | Film less flexible than the movement; too much build | Flexibilised paint, fewer coats, thinner build |
| Handle attachment | Lifting at the arris | Corners not eased; paint pulled back from the edge | Ease the arris and clean before the first coat |
| Base corners | Chipping and wear through to the fibre | Abrasion beyond what a film survives | Bind the edge, or add feet at 4-5 mm |
| Pocket mouth | Blistering weeks after delivery | Carrier trapped under a skinning surface | Lengthen intermediate drying at 60-70°C |
The first row is the expensive one, because a cracked gusset edge is discovered by a customer rather than at intake. It is also the most predictable, since the gusset is known to flex before a single coat is applied.
Testing an Edge Before Bulk Is Released
Four checks are enough and all four can be run on the bench in an afternoon. Each produces a pass or a fail rather than an impression, which is what makes them worth doing on a pre-production sample.
- Flex the painted edge through 300 open-close cycles and inspect for cracking at 10× magnification.
- Apply and remove adhesive tape to the dried film and check for any transfer of paint.
- Measure total build with a calliper at three points and hold it to 0.4-0.6 mm.
- Compare the dried film against the body panel by spectrophotometer, holding to ΔE 1.5.
The second check is the least costly test of adhesion available and it is rarely run. A film that lifts under tape has not bonded to the fibre, and it will lift in service regardless of how many coats were applied over it.
The Edge Line on the Specification Sheet
An edge specification is eight lines, and it is the line most often left off a tech pack entirely. Without it, the edge is whatever the bench did that week, and a re-order will not match the first run.
Eight lines before you sign an edge specification
- Construction: painted, burnished, turned or bound, per part of the body.
- Paint family: water-based or solvent-based, with the flexibiliser level stated.
- Coat count and build per coat, with a total build target of 0.4-0.6 mm.
- Drying time and temperature between coats, stated as a range.
- Sanding grit before the first coat and between coats.
- Gloss level, recorded as a measured value rather than as matte or gloss.
- Colour reference, matched to the body or the thread, held to ΔE 1.5.
- Adhesion and flex checks, with the cycle counts stated.
Our programme works to MOQ 500 pcs per style and colourway, with sampling at 6-10 working days and 12-15 for a complex construction, bulk at 35-50 days on FOB Xiamen terms, inspected to AQL 2.5 under ISO 2859-1. It runs across 7 production lines with about 200,000 pcs per month of capacity and export experience since 2014, delivered through our validated partner factory Quanzhou Yingming Bags, an SGS-validated site. The bench framework sits under craftsmanship and the material one under luxury materials.
Send the drawing and we will specify the edge
Tell us the silhouette, the leather and the edge look you want. We will return the construction, the coat sequence, the drying window and a sampling calendar, within two working days. Request a quote.
Frequently Asked Questions
What is edge painting on a handbag?
A pigmented polymer applied to the cut edge of the leather in several thin coats to seal the fibre and give one continuous surface. A luxury edge takes 3-5 coats at 0.10-0.15 mm each, sanded between coats and dried at 60-70°C, reaching a total build of 0.4-0.6 mm.
How many coats of edge paint does a luxury edge need?
Three to five, at 0.10-0.15 mm each, to a total of 0.4-0.6 mm. Fewer coats leave the fibre visible through the film; more coats build a film thick enough to lose flexibility, which is how a gusset edge ends up cracking at the fold.
Why does edge paint crack at a gusset?
Because the film is less flexible than the movement beneath it. A gusset flexes hundreds of times daily, so a hard, high-gloss paint, or a build above 0.6 mm, fails at the fold. The correction is a flexibilised paint with fewer, thinner coats. Write the figure into the specification, since an unrecorded figure cannot be enforced at intake.
What temperature should edge paint be dried at?
Between 60 and 70°C for 4-6 minutes between coats. That flashes the carrier off without skinning the surface. Drying too fast traps carrier beneath a skin, which lifts later as blisters rather than cracks. Confirm it at sampling, which runs 6-10 working days, or 12-15 for a complex construction.
Should an edge be sanded between coats?
Yes, at 400-600 grit, lightly enough to level the film without cutting through it. Under-sanding leaves each coat copying the texture of the one below; over-sanding cuts through and leaves a ridge that the final coat makes visible. Check it per lot at intake, inspected to AQL 2.5 under ISO 2859-1.
How is edge paint colour matched to the body?
Match the dried film rather than the paint in the pot, and hold the difference to ΔE 1.5 or below by spectrophotometer. Edge paint dries darker than it applies, so a match judged wet is a mismatch judged finished. Our programme works to MOQ 500 pcs per style and colourway, with bulk at 35-50 days.
What is the difference between a painted and a burnished edge?
A painted edge adds a 0.4-0.6 mm polymer film and works on any leather. A burnished edge compresses and polishes the fibre itself and only works on absorbent, unfinished leather such as vegetable tanned. Burnishing adds no material and no colour match. Keep the result with the retained sample so a re-order can be checked against it.
When should an edge be bound instead of painted?
Where the edge takes most of the abrasion, such as a base corner or a pocket mouth on a frequently used piece. A binding strip of 8-12 mm adds a component and a seam, and it outlasts any film in the same position. Agree the detail before the order is placed and hold it across the life of the style.
How thick should the finished edge build be?
Between 0.4 and 0.6 mm in total, measured with a calliper at three points along the edge. Below that the fibre shows through; above that the film loses the flexibility it needs at a fold, and the failure appears in the second year of use.
How is edge paint adhesion tested?
Apply adhesive tape to the dried film and remove it, checking for any transfer of paint. It is the least costly adhesion test available and rarely run. A film that lifts under tape has not bonded to the fibre and will lift in service. Write the figure into the specification, since an unrecorded figure cannot be enforced at intake.
Does edge paint need to comply with REACH?
Yes, as part of the article placed on the European Union market. Compliance is shown with a test report per lot rather than with a paint datasheet, and California Prop 65 governs warnings in that state for listed substances. Confirm it at sampling, which runs 6-10 working days, or 12-15 for a complex construction.
How much bench time does edge painting add?
Meaningfully, because drying sits between every coat. A five-coat edge carries four drying intervals at 4-6 minutes each, which is why a complex, edge-heavy construction samples at 12-15 working days rather than the 6-10 quoted for a simple one. Check it per lot at intake, inspected to AQL 2.5 under ISO 2859-1.
People Also Ask
Why is my handbag edge paint peeling?
It never bonded to the fibre, usually because the edge was dusty or oily, the corners were not eased, or the first coat was applied too thickly to penetrate. Tape testing the dried film catches this before bulk is released.
Can edge paint be repaired?
Yes, on a well-built edge. Light cracking can be sanded back at 400-600 grit and recoated, and a single damaged section can be spot-repaired. A film that is lifting across its whole length usually needs the edge stripped and rebuilt.
What is a turned edge?
The leather is folded back on itself by 5-6 mm and stitched, so no cut edge is exposed at all. It suits thin leather at 0.8-1.0 mm on a soft body and removes the edge as a failure point, at the cost of substance and panel area.
Should the edge match the leather or the thread?
Match the body where the panel should read as a solid, and the thread where the seam line is the design. A deliberate contrast turns the edge into an outline, which works on a geometric silhouette and rarely on a soft one.
How long does an edge take to cure fully?
The film is handleable after the final drying interval, but full cure continues beyond that. Flex testing at 300 cycles and tape testing should be run after the film has rested, since results taken immediately understate adhesion.
Sources and further reading
Every figure on this page is either our own programme data or attributed below. Open the originals before you write them into a specification.
- ISO — International Organization for StandardizationISO Publisher of ISO 11644 on finish adhesion and ISO 2859-1 on the sampling plans used at intake inspection.
- ECHA — European Chemicals AgencyEuropean Chemicals Agency Administrator of REACH, including the Annex XVII restrictions that apply to substances in coated articles.
- Office of Environmental Health Hazard AssessmentOEHHA The California agency that administers Proposition 65 and its warning requirements for listed substances in consumer articles.
- Leather Working GroupLeather Working Group Tannery audit protocol covering the substance controls behind the leathers that edge paint is applied to.
- Institute of Materials, Minerals and MiningIOM3 Reference data on polymer film behaviour, flexibility and coating thickness measurement relevant to edge finishing.