The Luxury Leather Handbag Production Process: Eight Gates From Specification to Carton
What does the luxury leather handbag production process actually consist of? Eight gated stages, in order: written specification, pattern and first toile, material intake and grading, cutting and skiving, reinforcement and edge preparation, assembly and stitching, hardware setting, then edge finishing and packing. Each gate releases something specific and refuses to release everything else. This article walks the eight in sequence, gives the measurements held at each one, and shows where time really goes between a drawing and a carton.
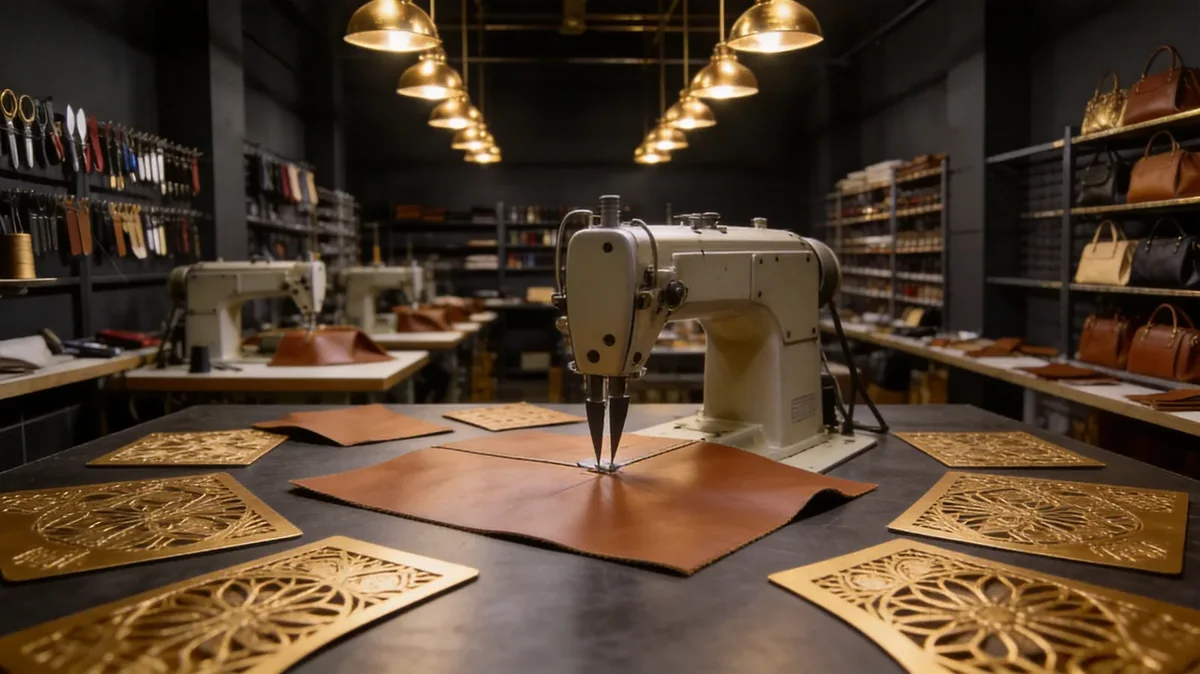
Eight Gates, and What Each One Releases
Treat a handbag programme as eight gates rather than as one continuous activity. At each gate, a specific thing is proven and a specific thing is forbidden to move forward. This framing is useful because problems are almost always the result of the wrong thing being released early.
The most common example is cutting before the leather is proven. Once panels are cut from irreversible material, the pattern is frozen even if nobody says it out loud, and every later correction becomes a material write-off rather than a drawing change. The gates exist to keep expensive material behind proved decisions.
- Gate one releases a written specification; nothing else may proceed without it.
- Gate two releases a toile in calico or PVC, proving proportion rather than material.
- Gate three releases hides into the programme after grading and substance checks.
- Gate four releases cut and skived panels, but only from a proved marker.
- Gate five releases reinforced and prepared components ready for assembly.
- Gate six releases the assembled body with its stitch and seam checks complete.
Two further gates follow: hardware setting, then edge finishing and packing. Read together the eight take a body from an intention to a unit that survives freight, and each one has a measurement attached that decides whether it opens.
Gate One: The Written Specification
Nothing should move until the specification exists on paper with numbers in it: substance band, finish, temper, shade reference, stitch density, thread, edge build, hardware finish, and the tolerance for each. A drawing without these is a proposal rather than a brief.
This is the least costly gate to get right and the most expensive to reopen, because everything downstream reads from it. Where a brand cannot supply figures, the honest move is to develop them together during sampling and then write them down before bulk begins, rather than leaving them as custom.
- Substance
- Declared band, commonly 1.2-1.4 mm for bodies, +/-0.1 mm across lots
- Stitch density
- 8-9 stitches per inch, checked to +/-0.5 over a measured length
- Thread
- Bonded or braided filament at about 0.45 mm, colour matched under D65
- Skive taper
- 8-10 mm wide, taken down to roughly 0.6-0.7 mm at folds
- Edge build
- Three coats, each sanded before the next, heat set after the last
- Hardware finish
- Named finish plus corrosion requirement, verified against sealed sample
The sixth line is where most returns originate. A named finish plus a corrosion requirement is enforceable; a colour word like pale gold is a conversation that continues until the units land.
Gate Two: Pattern and the First Toile
The first physical thing made is not leather. It is a toile: a full-size pattern sewn in calico or in PVC around 0.5-0.6 mm thick, so the proportion, balance and stand of the body can be judged without committing expensive material.
Judging a toile requires separating two questions that most people merge. Does the silhouette work at all, and does this particular material behave in it? A beautiful toile tells you the first and nothing about the second, which is why the next stage uses the real leather even if the toile is still being adjusted.
Corrections cost almost nothing here and can be repeated endlessly, which is exactly its purpose. Every change made here costs pattern paper; the same change made after the leather is cut costs a hide, and made after assembly costs a run.
Gate Three: Material Intake and Grading
Hides arriving for the programme are graded before anything is cut: selection share, substance across the declared band, and shade against the sealed reference. Results are recorded per bundle so the cutting table can plan rather than improvise.
Substance check
A dial gauge reading at agreed points across the hide, confirming the +/-0.1 mm band rather than trusting the invoice.
Shade check
Panels compared against the sealed reference under D65 light, with any driftower recorded before the bundle enters the line.
Defect mapping
Marks circled and the hide zoned so the marker can be laid around them rather than discovering them mid-cut.
Marker planning
Yield is then computed; on a mixed set of panel sizes a marker typically returns 68-76%.
The last card sets expectations honestly. A marker returning 68-76% is normal for mixed panel sizes; anyone quoting substantially more is either cutting different panels or counting rejects as yield.
This is also the gate at which compliance evidence is collected: restricted substance declarations for the destination market and, where the material is listed, the documents that go with it. Those papers and these hides travel together from here onwards.
Gate Four: Cutting, Skiving and Splitting
Panels are cut from the planned marker, then prepared: folded and turned edges are skived so bulk does not build up at the seam, and components destined for thinner areas are split to a declared thickness.
- Skive taper is 8-10 mm wide, taken down to roughly 0.6-0.7 mm rather than cut square.
- Splitting is held to about +/-0.05 mm so straps from two bundles still match.
- Panels are laid to grain direction and matched across the body before the clicker descends.
- Exotic or expensive materials are cut last, once every other component is proved.
- Each component is bagged by unit rather than by type, so matching survives the line.
The last bullet sounds administrative and is actually technical. Bagging components by unit rather than by type is what keeps shade and grain matching intact through assembly; batching by type quietly undoes whatever the cutting table achieved.
Gate Five: Reinforcement and Edge Preparation
Before assembly, components receive what the body needs to hold its shape: interlining at around 0.8 mm where panels need support, firmer board where a base must stay flat, and backing where thin areas would otherwise strain.
Reinforcement is a design decision disguised as a preparation step. Adding it here lets the pattern stay elegant; leaving it out means asking the leather itself to do structural work it was selected for other reasons, and the result shows up as collapse rather than as softness.
- Interlining
- Roughly 0.8 mm non-woven, applied over larger panel areas
- Base board
- Firmer board where the base must resist deflection
- Foam build
- Around 1.5 mm where a soft body needs to recover shape
- Backing
- Applied to thin areas before an expensive skin is cut
- Adhesive
- Water-based contact cement, open time controlled by the bench
- Dwell
- Bonded components rest before stitching so the adhesive sets
The sixth line prevents a familiar failure. Stitching immediately over freshly bonded layers drags the stack, and the misalignment that follows is attributed to the machine rather than to impatience.
Gate Six: Assembly and Stitching
Assembly joins the prepared stack: seams closed, lining set, corners turned, handles and straps anchored. Everything visible about quality happens here, and almost all of it can be specified rather than hoped for.
Stitch density is the most useful single control. A density of 8-9 stitches per inch, held to about +/-0.5 over a measured length with a thread around 0.45 mm, both looks correct and mechanically suits a body that will be loaded daily.
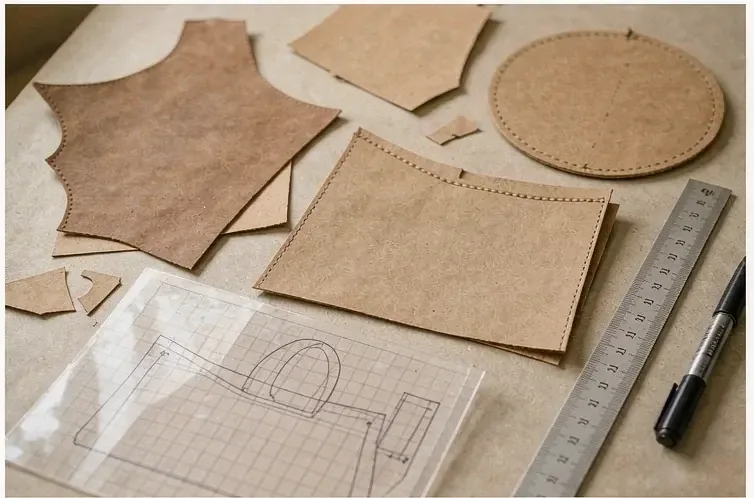
- Seam allowance is consistent, usually around 8-10 mm, and checked at the corners.
- Corners are turned without thinning the grain beyond what the skive allows.
- Handle anchorage is reinforced before decoration, never after.
- Thread ends are trimmed to about 2 mm and secured rather than simply cut.
- Every unit keeps its own component bundle throughout the line.
The fourth bullet is the least costly luxury detail there is. Trimmed and secured ends read as finish at close range, and they cost seconds rather than minutes when they are written into the method.
Gate Seven: Setting the Hardware
Hardware is set into prepared positions with tooling matched to each part, then verified. Two tests matter: retention under pull and consistency of the finished surface after setting, because a badly set part damages the leather around it permanently.
A retention test at roughly 60 N is a reasonable floor for a rivet set through leather and interlining, recorded per batch rather than per week. Set parts should also be checked for spinning, since a part that rotates will eventually mark the panel it sits against.
| Check | Method | Release criterion |
|---|---|---|
| Retention | Pull test to about 60 N | No release and no tearing at the hole |
| Rotation | Torque by hand against a reference | No movement of the set part |
| Surface | Inspection against sealed hardware sample | No plating damage from the setting die |
| Alignment | Gauge against the drawing datum | Within roughly 0.5 mm of position |
| Backing | Visual and tactile check behind the part | Leather not stretched or thinned at the seat |
The fourth row is where most disputes are resolved with a ruler rather than an opinion. Agreeing the datum on the drawing before bulk saves arguing about alignment after it.
Gate Eight: Edge Finishing, Cleaning and Packing
Raw edges are built up in thin coats rather than one thick one: typically three passes, each allowed to flash before the next and each sanded smooth between coats, then heat set. After that the unit is cleaned, conditioned and packed.
The difference between an ordinary edge and a quiet luxury one is patience rather than product. Three thin passes with sanding between them produce a line that reads as one continuous surface; one heavy pass produces a ridge that catches light and eventually cracks.
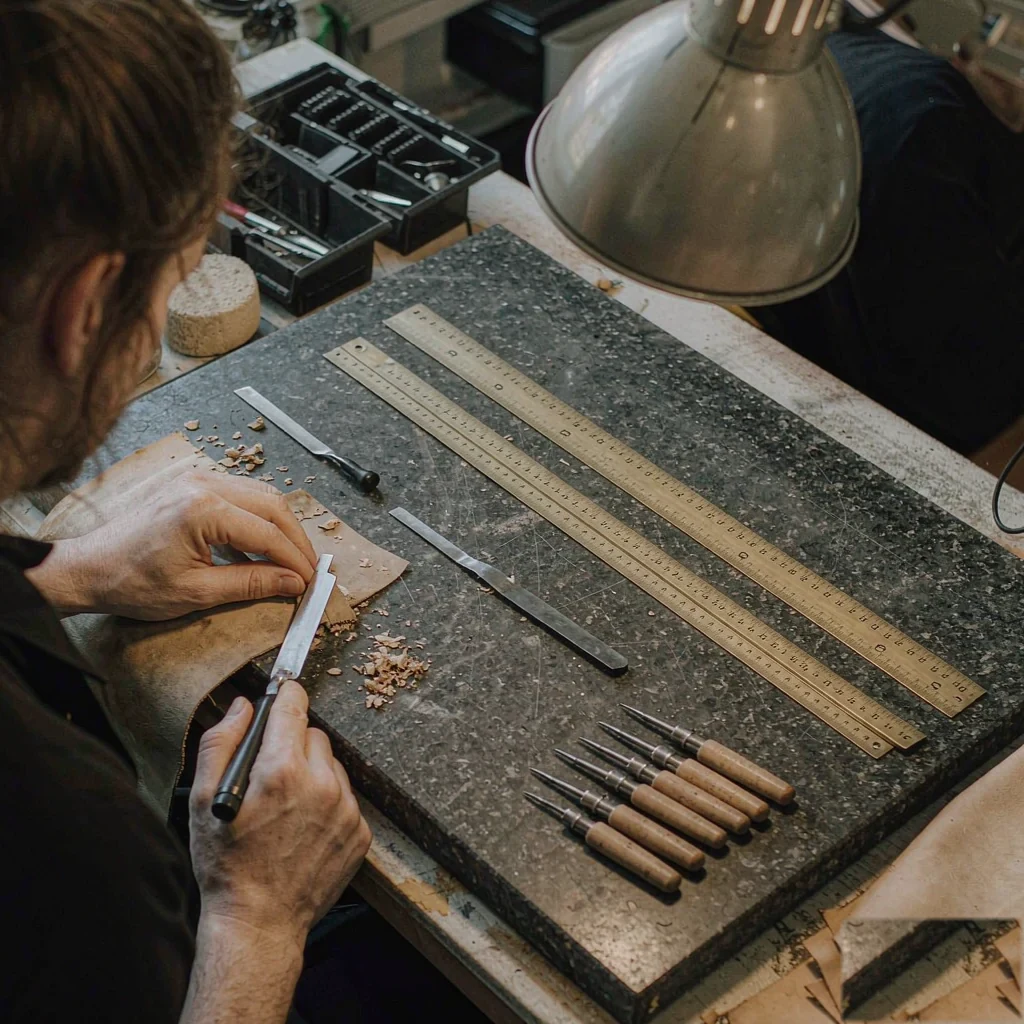
- Three edge coats, each flashed for around 8 minutes, each sanded smooth before the next.
- The built edge is heat set, then rested before it is handled again.
- Units rest on forms for 12-24 hours so the body holds its intended shape.
- Thread ends, adhesive traces and fingerprints are removed under good light.
- Packing follows its own lead time outside the bulk window and adds around USD 4.80 per unit.
The fifth item catches people who understand everything else perfectly. Presentation packing is designed, quoted and produced on its own calendar, and it is not compressed by good intentions late in a bulk run.
Where the Calendar Actually Goes
Once the gates are understood, the calendar stops being mysterious. Sampling is 6-10 working days for a straightforward body and 12-15 days where construction is complex; bulk takes 35-50 days; inspection runs at AQL 2.5 under ISO 2859-1 with the plan agreed before intake begins.
Our programme works to MOQ 500 pcs per style and colourway on FOB Xiamen terms, with alternative terms available. It runs across 7 production lines with about 200,000 pcs per month of capacity and export experience since 2014, delivered through our validated partner factory Quanzhou Yingming Bags, an SGS-validated site. Material booking, not assembly, is usually what determines whether that calendar holds.
Every gate exists so that irreversible material waits for proved decisions. When expensive skins are cut early because everything else is ready except the decision, the correction stops being a drawing change and becomes a material write-off.
Walk your body through the eight gates with us
Share your drawing or reference piece and the quantity. We will return which gates apply, the measurements we hold at each, and the calendar that follows. Request a quote.
Frequently Asked Questions
What is the first physical step in making a luxury leather handbag?
A toile rather than a panel. The pattern is sewn in calico or PVC around 0.5-0.6 mm thick so proportion, balance and stand can be judged without committing hide. Corrections at this stage cost pattern paper; the same correction after cutting costs material.
How long does sampling take for a new body?
Six to ten working days for a straightforward construction and twelve to fifteen where the body is complex, meaning a heavier technical requirement or expensive material that cannot be reworked. Those figures assume the specification is agreed in numbers rather than still being discussed.
What stitch density is used on luxury leather bodies?
Eight to nine stitches per inch, held to about half a stitch over a measured length, with thread around 0.45 mm. Lower densities look loose at handling distance and put more load per stitch; higher ones perforate leather unnecessarily and weaken the seam line itself.
How are raw edges finished?
In three thin coats rather than one thick one. Each pass is flashed for around eight minutes and sanded smooth before the next, and the built edge is heat set and rested. One heavy coat produces a ridge that catches light and cracks in service.
Why is the marker yield figure important?
Because it sets the material number and therefore the cost per unit. On a mixed set of panel sizes a marker typically returns 68-76%. A quotation built on a substantially higher figure will be revised the moment real hides are laid out for cutting.
What is skiving and why does it matter?
Skiving thins the leather across a taper so folded and turned edges do not build bulk. The taper runs 8-10 mm wide and is taken down to roughly 0.6-0.7 mm. Without it, every seam becomes a visible ridge and corners refuse to turn cleanly.
How is hardware checked once set?
By retention and by surface. A pull test to roughly 60 N confirms the part holds, a torque check by hand confirms it does not spin, and the set area is inspected against a sealed sample for plating damage caused by the die.
How long does bulk production take?
Thirty-five to fifty days, with the range driven by material availability and by how much hand work the construction demands. Inspection is run at AQL 2.5 under ISO 2859-1, with the sampling plan agreed before intake rather than negotiated afterwards at the port.
When should expensive materials be cut?
Last, once every other component has been proved on the bench. Exotic skins and any material that cannot be re-cut belong at the end of the sequence, because an error in them is a loss rather than a rework, however expertly the line is run.
Why are components bagged by unit rather than by type?
To preserve matching. If all left panels travel together and all rights follow separately, whatever grain and shade matching the cutting table achieved is undone at random during assembly. Bundling per unit is simple, costs nothing and protects the result.
What happens to the presentation during bulk?
It runs on its own calendar. Dust bag, rigid box, tissue and care card add roughly USD 4.80 per unit and lead their own schedule outside the 35-50 day bulk window. Ordering them late is the most avoidable delay in an otherwise well-planned launch.
How do you know when a gate has genuinely passed?
When the criterion was written down before it was needed: a number, a method and a release rule agreed in advance. Anywhere a gate is opened on judgement alone, the same disagreement reappears at final inspection when it is far more expensive to settle.
People Also Ask
What are the stages in making a luxury handbag?
Specification, toile, material intake and grading, cutting and skiving, reinforcement and edge preparation, assembly and stitching, hardware setting, then edge finishing, cleaning and packing.
Why is a toile made before the leather version?
It proves proportion inexpensively. A calico or PVC toile around 0.5-0.6 mm lets the silhouette be corrected while mistakes cost pattern paper instead of hides or an entire run.
How thick should handbag leather be?
Bodies commonly run 1.2-1.4 mm declared as a band with +/-0.1 mm permitted across a delivery. Skives take folds down to roughly 0.6-0.7 mm, and splitting is held to about +/-0.05 mm.
How many stitches go into a luxury seam?
Eight to nine per inch with thread around 0.45 mm, checked to about half a stitch over a measured length. It balances appearance against the number of perforations made in the leather.
What is the minimum order for a custom body?
MOQ 500 pcs per style and colourway on our programme, with sampling at 6-10 working days, bulk at 35-50 days, and inspection at AQL 2.5 under ISO 2859-1 on FOB Xiamen terms.
Sources and further reading
Every figure on this page is either our own programme data or attributed below. Open the originals before you write them into a specification.
- ISO — International Organization for StandardizationISO Publisher of ISO 2859-1, the standard behind the AQL 2.5 sampling plan and code letters used at final inspection.
- ISO/TC 289 — Leather technical committeeISO Maintains the leather test methods covering strength, finish adhesion and colour fastness used during intake grading.
- Leather Working GroupLeather Working Group Environmental auditing of tanneries supplying the hides graded before any marker is planned.
- REACH legislationEuropean Chemicals Agency Restricted substance obligations covering finishes, adhesives and edge coatings used through the build.
- Business of FashionBusiness of Fashion Coverage of how fine leather goods are developed and calendarised across houses and their programme partners.