Luxury Bag Photography for Brand Trust: The Six-Frame Set, Colour Proofing and Retouch Discipline
What makes luxury bag photography build brand trust? Consistency and restraint: six frames per style shot on one fixed set-up at 5600K, proofed under D65 to hold ΔE ≤ 1.0 against the sealed sample, and retouched only to remove dust — never to change colour, grain or proportion. Trust is lost when the tan on screen is two shades warmer than the tan that arrives. A disciplined set costs a little more per style and removes the single largest cause of returns, which is a buyer receiving an object that does not match the image she approved.
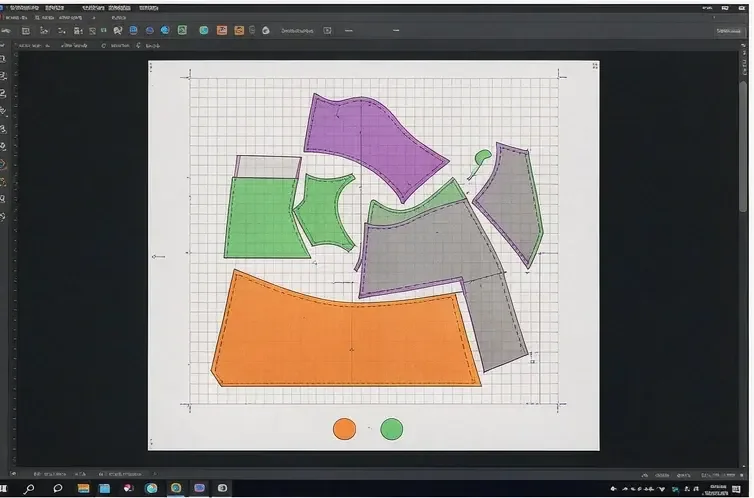
Why Photographs Carry More Weight Than Copy in This Category
A buyer decides whether a house is credible before she reads a word. She looks at six frames, judges whether the leather reads like leather, whether the hardware looks like metal rather than plastic, and whether the shape stands up on its own. Those judgements are made in seconds and they are almost impossible to reverse with better copy. Photography is therefore not a marketing deliverable in this category; it is the evidence pack for every other claim the house makes.
The corollary is that inconsistency is expensive. When a line is shot across three sessions with three white balances, the product page reads like three different houses and the return rate rises for reasons nobody can diagnose. Fixing this is unglamorous: one set-up, written down, reused every season. Houses that write the set-up down find that new photographers onboard in a day and that season two matches season one.
The Six-Frame Set Every Style Needs
Six frames cover a structured bag completely: a straight-on front elevation, a three-quarter at 45°, a back elevation, an interior with the lining visible, a hardware macro, and a scale reference showing the bag beside a hand or a standard object. Anything beyond six is nice to have. Anything fewer leaves a question the buyer answers by guessing, and guesses in this category resolve against the house.
Front elevation
Straight on, lens at bag centre height, no perspective distortion, feet square to the surface.
Three-quarter
45° rotation showing depth, gusset and handle rise — the frame that sells proportion.
Back elevation
Shows the panel seam, the back pocket if there is one, and whether the shape holds unstuffed.
Interior
Lining, pocket count and the inner stamp, shot with the mouth fully open and supported.
Hardware macro
100 mm macro at f/8 showing the plating, the engraving and the edge of the turn-lock.
Scale reference
The bag beside a hand or a known object, so size is read correctly on a phone screen.
The Set-Up: One Written Specification, Reused Every Season
Write the set-up once and treat it as a specification. Key light at 5600K through a large softbox at 45° to the left, a white bounce card on the shadow side, and a small rim light behind and above to separate the top edge from the background. Camera at 100 mm macro, f/8 for depth across the whole panel, ISO 100 native, tethered to a calibrated screen. Once these are fixed, every later session is a repetition rather than a reinvention.
- Key light
- 5600K, large softbox, 45° camera left, roughly 1.2 m from the subject
- Fill
- White bounce card camera right, positioned to lift the shadow side without erasing it
- Rim light
- Small source behind and above, separating the top edge from the sweep
- Camera
- 100 mm macro lens, f/8, ISO 100, tethered to a calibrated display
- Colour reference
- X-Rite card in the first frame of every session, white-balanced in post
- Proofing
- D65 light booth, shade held at ΔE ≤ 1.0 against the sealed sample
Colour Accuracy: The Difference Between Trust and Returns
Colour is where trust is won or lost. Leather is a natural material and every dye lot sits slightly away from the last, so the photographed bag must be the sealed sample or a unit measured against it. Proof in a D65 booth and hold ΔE ≤ 1.0; at ΔE 2.0 most observers see a difference when two objects are placed side by side, and at ΔE 3.0 the difference is visible across a room. This is the same tolerance a production programme holds between drops, which is why the photography specification and the production specification should be written together.
| Failure | What the buyer sees | Correction |
|---|---|---|
| Mixed white balance | Three houses in one product page | One set-up sheet, 5600K fixed, reused for every session |
| Warm proofing | Tan arrives cooler than the screen | Proof under D65 against the sealed sample, ΔE ≤ 1.0 |
| Over-retouching | Grain erased, leather reads as vinyl | Retouch dust and stray threads only, never grain or pore structure |
| No scale reference | Bag arrives larger or smaller than expected | Sixth frame beside a hand or a known object, every style |
| Hardware lit flat | Plating reads as plastic | Rim light plus macro frame at f/8, 100 mm |
Retouch Discipline: What Comes Out and What Must Stay
Retouching in this category is subtraction, not addition. Dust, stray threads, a fingerprint on the hardware and a scuff on the sweep come out. Grain, pore structure, the natural break of the leather at the gusset, the slight asymmetry of hand-set stitching and the honest colour of the edge paint stay in. A bag photographed as if it were rendered will be returned by a customer who expected leather and received something that looks printed.
- Remove only dust, lint, stray threads and surface fingerprints — roughly 8-12 minutes per frame.
- Leave grain, pore structure and the natural break at the gusset exactly as the leather presents them.
- Do not reshape the silhouette; a structured bag that slumps slightly unstuffed should be shown slumping slightly.
- Do not brighten hardware beyond what the rim light produced; plating has a real colour and buyers compare it.
- Keep edge paint the colour it is. A three-coat edge is visibly denser than a single coat and that difference is a selling point.
- Shoot the interior honestly, including the lining seam, because the inside is where construction quality is judged.
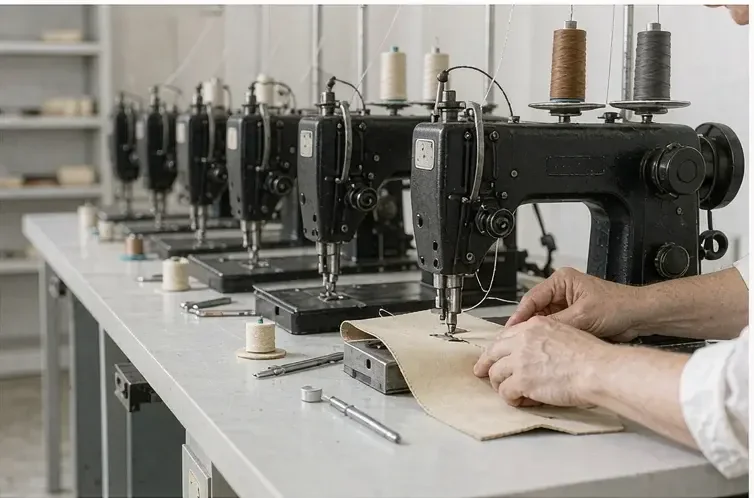
Shooting Against the Sealed Sample, Not a Render
Photography should never start from a digital render or a pre-production mock-up, because neither carries a real dye lot, plating bath or edge paint. Shoot the approved sample from the 6-10 working days of sampling round, or a bulk unit pulled from the first 500 pcs and measured against the sealed reference. Where a drop ships in two colourways, both are shot, because a buyer comparing tan against cognac on screen will notice if one was photographed in a different session.
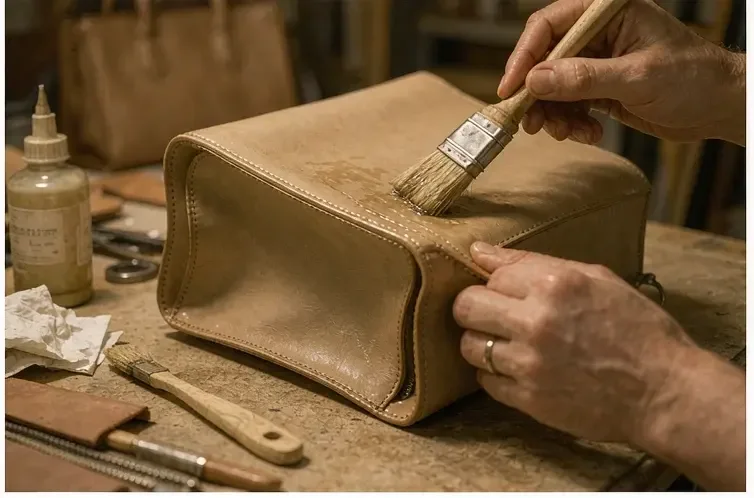
File Specification: Resolution, Delivery and Archiving
Deliverables need a written specification as much as the shoot does. Long edge at 2400 px for product pages, a 300 dpi print file held for lookbook and press use, sRGB for web and a wider gamut master archived for print. Files are named by style, colourway and season, and the master set is archived beside the sealed sample so that a re-shoot three years later can match. A reprint of a single frame for a press request runs about USD 4.80.
- Web file: long edge 2400 px, sRGB, sharpened for screen at the export stage only.
- Print master: 300 dpi, archived in a wider gamut, never overwritten by the web export.
- Naming: style code, colourway, season, frame number — one convention, applied without exception.
- Archive: master set stored beside the sealed sample record, referenced in the specification ledger.
- Usage: one set licensed for product page, line sheet and press kit so all three agree.
- Re-shoot rule: any new dye lot is re-shot, never colour-corrected from the previous session's file.
Two further rules keep the archive usable. First, the raw file is never deleted: a master set without its raw original cannot be re-graded when a house changes its background treatment three seasons later, and re-shooting an archived style is far more expensive than keeping the file. Second, a written change log records every deviation from the set-up sheet — a different lens, a borrowed light, a session shot on location — because an unexplained deviation is the first thing to check when a buyer reports a colour mismatch on a re-order.
What Good Photography Does to the Sales Conversation
A disciplined set changes what happens in the appointment. The buyer stops asking whether the bag looks like the picture and starts asking about delivery windows, re-order terms and exclusivity — questions that lead to an order. Houses that invest here report shorter sample conversations and fewer specification disputes, because the photograph has already answered the questions that would otherwise be raised against the physical sample.
The photography specification in one place
- Six frames per style: front, three-quarter, back, interior, hardware macro, scale reference. Key light 5600K at 45°, white bounce on the shadow side, small rim behind. Camera at 100 mm macro, f/8, ISO 100. X-Rite card in frame one, proofed under D65 at ΔE ≤ 1.0 against the sealed sample. Retouch 8-12 minutes per frame, dust only. Shoot the approved sample from the 6-10 working day round, never a render.
Print the product page on an office printer and hold it beside the physical bag under shop lighting. If a customer could reasonably claim the colour differs, the set is not finished. Screens flatter leather; print and retail lighting do not.
Shoot your next drop against a measured sample
If you are preparing a first drop or a re-shoot, tell us the styles and colourways involved. Our team will develop through sampling in 6-10 working days, ship a measured sample for photography, and return the production plan with inspection at AQL 2.5 through our quotation desk.
Building the Set Into the Production Calendar
Photography slots between sample approval and bulk completion. Sampling runs 6-10 working days, or 12-15 where frame work or a custom-cast closure is involved; the approved sample is shipped for the shoot while bulk runs its 35-50 days. That parallelism means product pages are ready before goods land, rather than three weeks after — which is the difference between a launch date that holds and one that slips a season.
Where a second colourway or a new dye lot enters later, it is re-shot under the same set-up sheet and proofed to the same ΔE ≤ 1.0 band. Nothing else about the specification changes. This is the same logic a production programme applies to re-orders, and applying it to imagery is what makes a house look like the same house in year three as it did in year one.
Frequently Asked Questions
What makes luxury bag photography build brand trust?
Consistency and restraint. One written set-up reused every season, six frames per style, colour proofed under D65 at ΔE ≤ 1.0 against the sealed sample, and retouching limited to dust removal. Trust is lost when the tan on screen is two shades warmer than the tan that arrives, so accuracy matters more than drama.
How many photographs does one handbag style need?
Six: a straight-on front elevation, a three-quarter at 45°, a back elevation, an interior showing the lining, a hardware macro, and a scale reference beside a hand or a known object. Fewer leaves a question the buyer answers by guessing; more is rarely necessary for a product page.
What camera settings suit structured calfskin?
A 100 mm macro lens at f/8 gives depth across the whole panel without distortion, at ISO 100 with the camera tethered to a calibrated display. Avoid wide apertures that throw the handle out of focus and avoid wide lenses that distort the silhouette at close range.
Why is colour temperature fixed at 5600K?
Because mixed white balance makes one product page look like three different houses. Fixing the key at 5600K and white-balancing from an X-Rite card in the first frame means every session is a repetition, a new photographer onboards in a day, and season two matches season one.
What is ΔE and why does ΔE ≤ 1.0 matter?
ΔE is the measured colour difference between two objects. At ΔE ≤ 1.0 the difference is close to the limit of what an untrained eye detects on a curved leather panel. At ΔE 2.0 most observers notice it side by side, and at ΔE 3.0 it is visible across a room — which is enough to generate a return.
Should bag photography be shot against a render or a sample?
Against the approved sample from the sampling round, or a bulk unit pulled from the first 500 pcs and measured against the sealed reference. A render carries no real dye lot, no plating bath and no edge paint, so anything shot from it will disagree with the goods that ship.
How much retouching is acceptable on luxury bags?
Roughly 8-12 minutes per frame, limited to dust, lint, stray threads and fingerprints. Grain, pore structure, the natural break at the gusset, slight stitching asymmetry and the true colour of the edge paint must remain, because erasing them makes leather look printed and invites returns.
How do you photograph hardware so it reads as metal?
Use a small rim light behind and above to separate the top edge, then shoot a dedicated macro frame at 100 mm and f/8. Do not brighten the plating beyond what the light produced — buyers compare brass against brass, and a flattering frame that lies about the finish costs more than it sells.
What file sizes should be delivered?
A web file at 2400 px on the long edge in sRGB, plus a 300 dpi master in a wider gamut archived for print. Name files by style, colourway, season and frame number, and store the master beside the sealed sample record so a later re-shoot can match exactly.
When should the shoot happen in the production calendar?
Between sample approval and bulk completion. Sampling runs 6-10 working days, or 12-15 for frame work or a custom-cast closure, and bulk runs 35-50 days. Shipping the approved sample for the shoot while bulk runs means product pages are ready before goods land.
How do you handle two colourways of the same style?
Shoot both in one session under the same set-up sheet and proof both to ΔE ≤ 1.0. A buyer comparing tan against cognac on screen will notice immediately if one was photographed in a different session, and that inconsistency reads as carelessness rather than as a colour choice.
Why does a scale reference frame matter?
Because most first views happen on a phone. Without a hand or a known object in frame, buyers misjudge size, and misjudged size is one of the most common reasons a premium bag is returned even when the quality is exactly as described.
People Also Ask
What is the best lighting for handbag photography?
A single large 5600K softbox at 45° as the key, a white bounce card on the shadow side and a small rim light behind and above. Written down and reused, this gives consistent results across seasons and photographers.
How do you make leather look real in photographs?
Keep the grain and pore structure, keep the natural break at the gusset, and use a rim light so the top edge separates from the background. Over-retouched leather reads as vinyl and discourages purchase.
Why do product photos differ from the bag received?
Usually mixed white balance, warm proofing and shooting a render or pre-production mock-up instead of the approved sample. Proofing under D65 at ΔE ≤ 1.0 against a sealed sample removes most of the gap.
How many retouch minutes per frame is normal?
Around 8-12 minutes, spent on dust, lint, threads and fingerprints. Anything beyond that usually means the set-up is wrong or the leather is being altered rather than cleaned.
Do luxury brands shoot the interior of a bag?
Yes. The interior frame shows lining, pocket count and the inner stamp, and it is where an experienced buyer judges construction quality more reliably than from any exterior view.
Sources and further reading
Every figure on this page is either our own programme data or attributed below. Open the originals before you write them into a specification.
- X-Rite — Colour ManagementX-Rite Reference cards and calibration targets used to white-balance the first frame of every product photography session.
- CIE — International Commission on IlluminationInternational Commission on Illumination Defines the D65 illuminant and the colour difference metrics used to specify ΔE tolerances.
- ISO — International StandardsInternational Organization for Standardization Publisher of ISO 105 colour fastness and ISO 2859-1 sampling procedures referenced alongside photographic proofing.
- Leather Working GroupLeather Working Group Tannery audit protocol used when a photographed hide source must remain stable across consecutive drops.