How to Test a Luxury Bag Sample for Durability: A Seven-Step Decision Order with Loads, Flex Cycles and Pass Marks
How do you test a luxury bag sample for durability? Work in a fixed order — load, closures, attachments, flex, rub, conditioning, interior — and record a number at each step rather than an impression. The working pass marks are a 4 kg load held for 30 minutes with no permanent set, ten closure cycles with no binding, 500 flex cycles at the fold without cracking, and 24 to 48 hours of salt spray on the hardware.
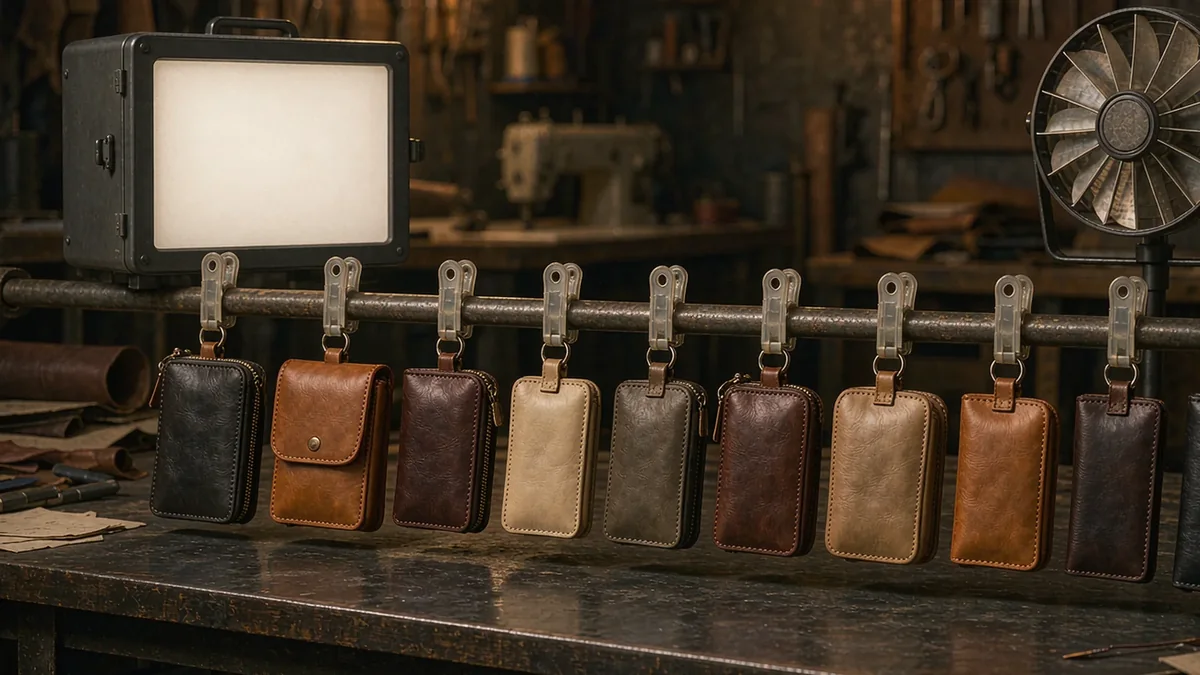
The Decision Order: Test in This Sequence
Durability testing fails most often because it is done in the wrong order. A piece rubbed before it has been loaded, or conditioned cold before its closures have been cycled, gives answers that are true about an untested bag and false about a used one.
- Load it, because a structure that fails under weight invalidates everything measured afterwards.
- Cycle every closure, because a fitting that binds is a fitting that will be forced.
- Work the strap and handle attachments, which carry the whole load of the piece.
- Flex and fold the panels at the points where the leather actually turns.
- Rub the edges and the surface, dry first and then damp.
- Condition it cold and warm, which is where a poor edge finish reveals itself.
- Test the interior and the lining, which is where wear shows first on a daily piece.
Seven steps take under two hours and they answer the question a buyer actually has, which is not whether the piece looks strong but whether it will still look right after a season of use.
The sequence also has a commercial purpose. A buyer who reviews in a fixed order tends to send back one consolidated note rather than several partial ones, and a single note inside the review window keeps the calendar intact. A buyer who reviews by impression tends to discover faults in waves, and each wave arrives after the bench has already begun acting on the previous one.
Step One: Load the Bag Before Judging Anything
A bag is judged loaded, not empty. Four kilograms for thirty minutes is the working reference, and what matters is not whether it survives but whether it returns.
- Load
- 4 kg distributed as it would be carried, not concentrated in one corner
- Duration
- 30 minutes, then unloaded and left for 30 minutes before measuring
- Strap
- Measured at 1050 mm before and after; permanent set beyond a few millimetres fails
- Base
- A 1.5 mm base board should keep the floor flat with no visible bowing
- Handles
- No elongation at the attachment points, and no gap opening at the stitch line
The instruction to wait after unloading is not pedantry. Leather recovers slowly and a measurement taken straight after the load is removed will read worse than the piece actually is, which is how a sound sample gets rejected.
Step Two: Cycle Every Closure Ten Times
A closure looked at is a closure untested. Ten cycles is the minimum, and the count at which it binds is the number to record.
- Turn-locks: ten open and close cycles, noting any change in the effort required.
- Zips: ten full runs with the pull held at the angle a hand actually uses rather than flat.
- Magnetic closures: ten cycles, and note whether the magnet re-centres itself each time.
- Drawstrings and toggles: ten cycles under load, since they behave differently slack.
- Any closure that binds: record the cycle number, which is more useful than the fact.
Zips deserve the angle note because most zip complaints are really complaints about the pull working against the tape at an angle. A #5 zip run flat on a table will pass a test that the same zip fails on the shoulder.
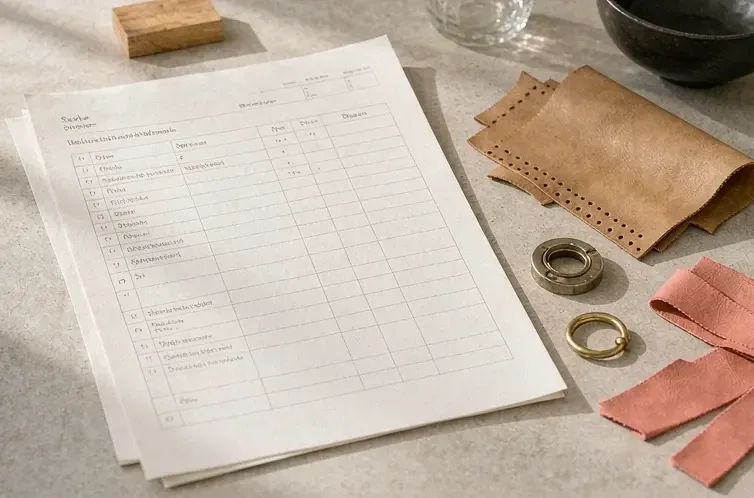
Step Three: Work the Attachments
Attachments carry the entire load of the piece and they fail at the stitch line rather than at the leather, which is why the stitch specification matters more here than anywhere else on the bag.
| Attachment | Test | Pass mark |
|---|---|---|
| Handle roots | Lift by the handles with 4 kg inside, ten times | No gap at the stitch line, no elongation of the leather |
| Strap anchors | Pull steadily to 4 kg and hold for 30 minutes | No movement of the anchor relative to the body |
| Stitch line | Count pitch at 8-9 per inch at the anchor | Thread at 0.45 mm, no skipped stitch, no oversized hole |
| Rivets and rings | Twist and pull in both directions | No rotation of the fitting in its seat |
Where an anchor is reinforced, ask what the reinforcement is. A hidden interlining at 0.8 mm behind the panel is a legitimate and common answer; a thicker leather chosen to hide a weak seam is not, and it will show as stiffness at the fold.
Step Four: Flex the Panels Where They Actually Turn
Five hundred flex cycles at the fold is the working reference, and the fold to test is the one the piece makes in use rather than the most convenient one on the bench.
Handle fold
Where the handle meets the body. This is the highest-stress fold on a structured piece and the first place a stiff construction shows its limits.
Gusset turn
At the point where the gusset changes direction. Ninety millimetres of gusset flexes differently from sixty.
Flap hinge
Where a flap folds over the opening. Test it with the closure done and undone, since the two states load the hinge differently.
Base corner
Where the floor turns up into the body. Corners take the abrasion of being set down and are usually the first to show wear.
What fails at 500 cycles is almost always either an edge coat applied too thickly or an interlining too heavy for the leather. Both are specification problems rather than workmanship problems, and both are visible on the tech pack if you know to look.
Step Five: Rub the Edge and the Surface
Rub testing is done dry first and damp second, and the order matters because a finish that survives dry and fails damp has a specific and fixable cause.
- Dry rub with a standard cloth at a fixed pressure, 500 cycles on the surface and on the edge.
- Damp rub repeated at the same pressure, which is where an insufficiently sealed edge gives up.
- Check transfer onto the cloth rather than damage to the piece alone, since transfer is what the customer sees.
- Look at the edge under raking light at about 30 cm after rubbing, not before.
- Note whether three thin coats were used, because one thick coat passes the first rub and fails the fifth.
Colour transfer onto a light garment is the commonest complaint in this category and the one least often tested for at sample stage. A damp rub on a white cloth takes two minutes and answers it.
Step Six: Condition It Cold and Warm
Conditioning is the step most often skipped and the one that separates an edge finish that works from one that photographs well.
| Condition | Holding period | What is examined |
|---|---|---|
| Cold, around minus 10 degrees Celsius | 4 hours, then flexed at the fold while still cold | Edge cracking, stiffness of the panel, closure function |
| Warm, around 50 degrees Celsius | 4 hours, then handled | Edge softness, any finish becoming tacky, adhesive behaviour |
| Return to room temperature | 2 hours, then re-measured | Whether the piece returns to its original dimensions |
Hardware is tested in parallel and to a different clock: 24 to 48 hours of neutral salt spray against plating at 0.15-0.3 microns. That test is normally run by an independent laboratory rather than on the bench, and the report is worth asking for by name.
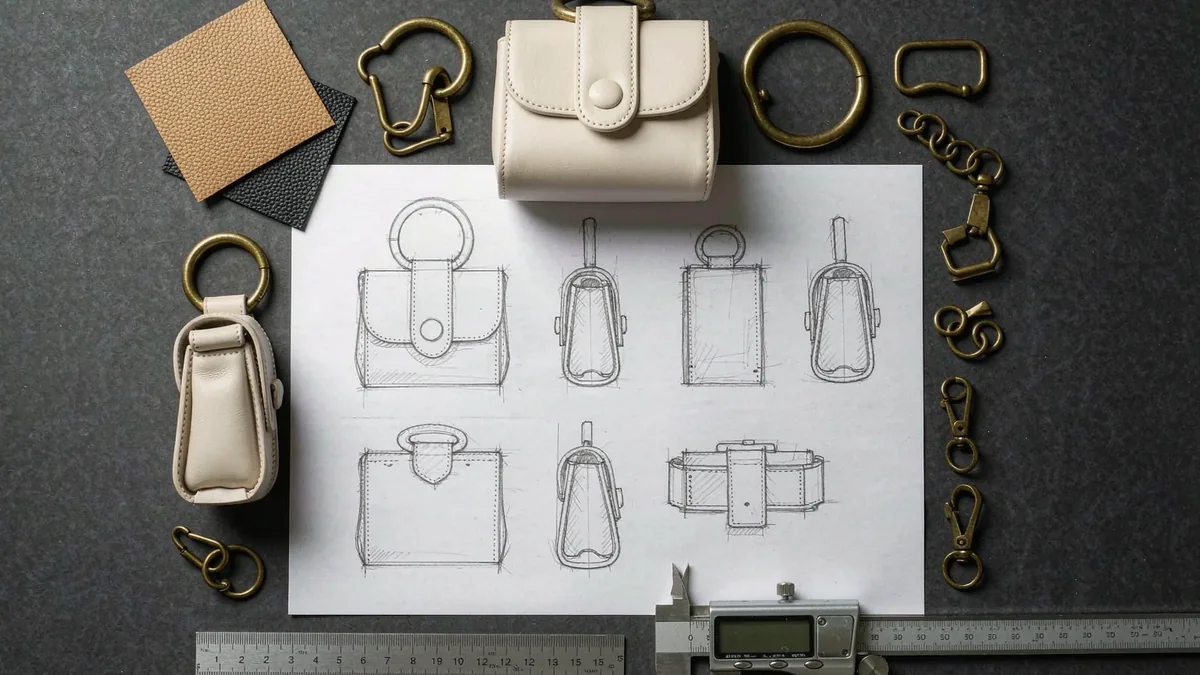
Step Seven: The Interior and the Lining
The interior wears first on any piece that is used daily, and it is the part least often examined at sample stage.
- Run a loaded hand into each pocket ten times and look for seam distortion at the mouth.
- Check that the lining does not show at the opening when the bag is closed.
- Rub the lining against a dark cloth, since pale linings transfer in the other direction.
- Confirm pocket depth: a slip pocket at 135 mm takes a large phone without crowding the opening.
- Look for raw edges inside, which are the detail most often accepted on a sample and regretted in use.
A lining that shows at the opening is the single most common interior fault and it is visible in a photograph, which is why it should be checked on the piece rather than on the drawing.
The Numbers Worth Recording
Seven numbers are worth writing down, because a second sample can then be compared against the first rather than re-judged from scratch.
Seven durability figures for the sample record
- Strap length before and after a 4 kg load of 30 minutes, at 1050 mm nominal.
- The cycle number at which any closure binds, if it binds at all.
- Flex cycles completed at the handle fold, against 500 as the reference.
- Dry and damp rub results at 500 cycles, noting transfer onto the cloth.
- Edge condition after four hours cold at minus 10 degrees Celsius.
- Salt spray hours survived on the hardware, against 24 to 48 as the expectation.
- Base flatness and corner wear after being set down loaded fifty times.
Recorded this way, a durability review becomes comparable across styles and across seasons. Judged by impression, it has to be done again from the beginning every time. It also changes the conversation at approval. A review that says the strap returned to 1052 mm from 1050 mm after a 4 kg load is a review that can be accepted or rejected on evidence, and one that says the strap seemed fine is a review that will be re-argued at bulk.
When to Stop Testing and Send It Back
Three findings justify ending the review immediately and returning the piece, because further testing will not change the conclusion.
- A closure that binds within ten cycles, which is a fitting problem rather than a break-in period.
- An edge that cracks at the fold after cold conditioning, which cannot be corrected by handling.
- Permanent set in a strap or handle root after a 4 kg load, which is a structural specification failure.
The purpose is to find out whether leather at 1.2-1.4 mm, stitch at 8-9 per inch and plating at 0.15-0.3 microns hold up in use. A single piece that happens to survive proves less than a specification that is known to.
Where Testing Sits Before Bulk
Durability testing belongs at sample stage, before the references are sealed, because a correction found there costs an email and the same correction found after bulk starts costs the run. The programme then runs on fixed terms: MOQ 500 pcs per style and colourway, bulk in 35-50 days, inspection at AQL 2.5 under ISO 2859-1 with third-party inspection available, and handover on FOB Xiamen terms. Export experience on this programme runs since 2014 across 7 production lines with about 200,000 pcs per month of capacity, delivered through our validated partner factory Quanzhou Yingming Bags.
Ask for the durability report with your sample
Send the drawings, the material direction and the quantity, and we will return a sampling plan with the seven durability figures recorded for your style. Request a quote.
Frequently Asked Questions
How do you test a luxury bag sample for durability?
In a fixed order: load it at 4 kg for 30 minutes, cycle every closure ten times, work the attachments, flex the folds 500 times, rub dry then damp, condition cold and warm, then test the interior. Record a number at each step.
Why does the order of testing matter?
Because a piece rubbed before it is loaded, or conditioned cold before its closures are cycled, answers questions about an untested bag. Load first, since a structure that fails under weight invalidates everything measured afterwards.
What load should a bag sample carry in testing?
Four kilograms distributed as it would be carried, held for 30 minutes, then unloaded and left a further 30 minutes before measuring. The wait matters, because leather recovers slowly and reads worse immediately after unloading.
How many times should a closure be cycled?
Ten times as a minimum, and the useful record is the cycle number at which it binds rather than the simple fact that it did. A turn-lock or a #5 zip that binds at the fourth cycle will be forced by the user.
Why is a zip tested at an angle?
Because most zip complaints are about the pull working against the tape at an angle. A #5 zip run flat on a table will pass a test that the same zip fails on the shoulder, so hold the pull as a hand would.
How many flex cycles should a fold survive?
Five hundred at the folds the piece actually makes in use: the handle fold, the gusset turn, the flap hinge and the base corner. Failures at that count are usually specification problems rather than workmanship ones.
What does a rub test involve?
Five hundred cycles with a standard cloth at a fixed pressure, dry first and then damp. Check transfer onto the cloth as well as damage to the piece, since transfer onto a light garment is what the customer notices.
Why is the sample conditioned cold and warm?
Because an edge finish can look perfect at handover and fail in use. Four hours near minus 10 degrees and four hours near 50 degrees, flexed at the fold while cold, separates three thin coats from one thick one.
How is hardware durability tested?
By neutral salt spray against plating at 0.15-0.3 microns, with 24 to 48 hours as the working expectation. It is normally run by an independent laboratory rather than on the bench, and the report is worth requesting by name.
What is checked on the interior?
Pocket mouths under a loaded hand ten times, whether the lining shows at the opening, transfer onto a dark cloth, pocket depth against 135 mm, and raw edges inside, which are accepted on samples and regretted in use.
Which findings justify sending a sample straight back?
Three: a closure binding within ten cycles, an edge cracking after cold conditioning, and permanent set in a strap or handle root after a 4 kg load. Further testing will not change any of those conclusions.
Why record numbers rather than impressions?
Because a recorded figure lets a second sample be compared with the first instead of re-judged from scratch. Across a season, the same seven figures make durability comparable between styles and between drops.
Does durability testing delay the sample window?
It sits inside it. The seven steps take under two hours within the 6-10 working day window, or 12-15 for a framed opening, an exotic skin or engineered hardware, and salt spray runs in parallel at a laboratory.
What happens once the sample passes?
Three sealed references and a written specification sheet, then bulk in 35-50 days at MOQ 500 pcs per style and colourway, inspected at AQL 2.5 under ISO 2859-1 and handed over on FOB Xiamen terms.
People Also Ask
What is a good durability test for a handbag?
Load, closures, attachments, flex, rub, conditioning and interior, in that order, with a number recorded at each step rather than an impression.
How much weight should a handbag hold?
Four kilograms is the working test reference, distributed as it would be carried and held for 30 minutes. What matters is whether the piece returns afterwards.
Does leather crack in cold weather?
A well-finished edge does not. Three thin edge coats flex with the leather across a cold-to-warm range, whereas a single thick coat cracks on the first cold fold.
How do you test handbag hardware?
Neutral salt spray for 24 to 48 hours against plating at 0.15-0.3 microns, usually at an independent laboratory, with the report requested by name.
Should the interior be tested too?
Yes. The interior wears first on a piece used daily, and a lining showing at the opening is the most common interior fault and is visible in a photograph.
Sources and further reading
Every figure on this page is either our own programme data or attributed below. Open the originals before you write them into a specification.
- ISO — International Organization for StandardizationISO Publisher of ISO 2859-1 and of ISO 11644 and ISO 3376, the coating adhesion and tensile strength methods used on leather.
- SATRASATRA Technology Centre Independent testing organisation for leather and accessories, covering flex, rub, salt spray and hardware testing.
- Leather Working GroupLeather Working Group Tannery audit protocol behind the hide traceability and batch records for material used in sample and bulk.
- OEKO-TEXOEKO-TEX Testing and certification system covering restricted substances and colour fastness in leather and lining.
- American Association of Textile Chemists and ColoristsAATCC Test methods for colour fastness to rubbing and for appearance assessment under controlled conditions.