How to Evaluate a High-End Handbag Supplier Sample: A 24-Point Checklist Across Five Stations
How should you evaluate a high-end handbag sample? Work the same 24 checks in the same order across five stations: silhouette and measurement, material and hand, construction and stitching, hardware and closures, then interior and edge finish. Panels should sit within ±0.5 mm of the drawing and the finished unit within ±1 mm, stitch density should read 8-9 per inch, edge finish should carry three coats, and a #5 zip should survive 100 cycles. Sampling returns in 6-10 working days, and your written response should go back within 48 hours. Below: the checklist, the tests worth commissioning, and how to score a unit.
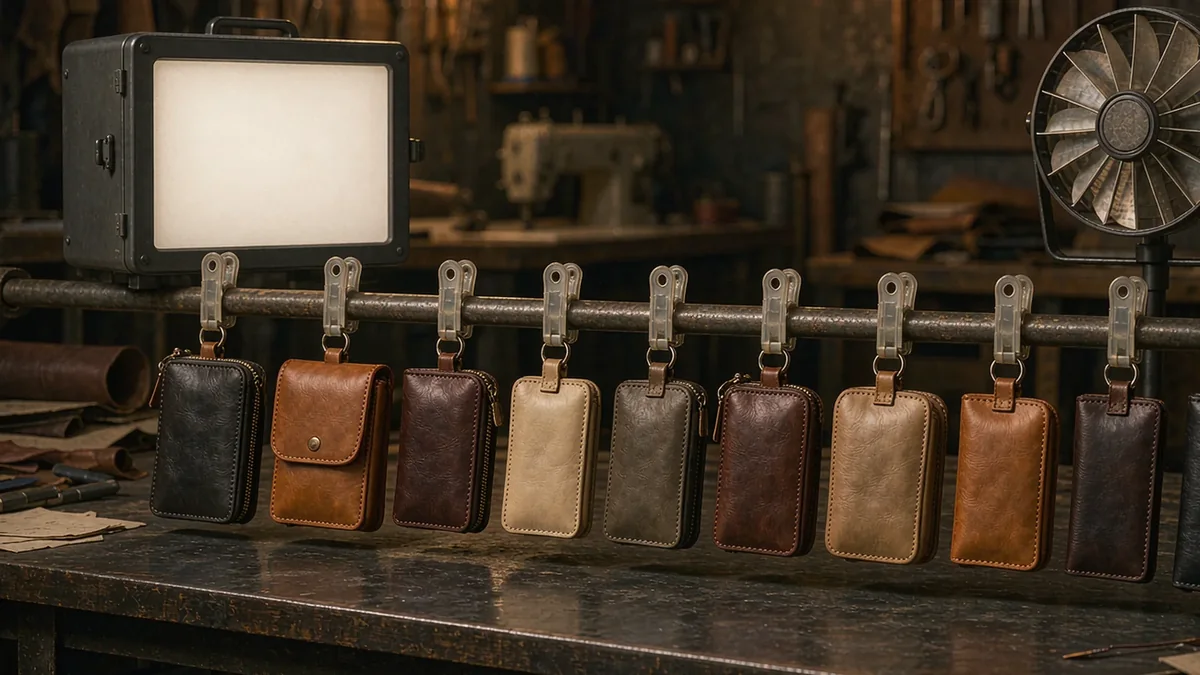
The 24 Checks, in the Order They Should Be Run
Evaluate a sample in a fixed order, because each station changes how you see the next one. Measure before you touch, touch before you open, open before you look inside, and leave the interior until last, since it is the station most likely to be judged generously once the exterior has impressed you.
- Measure the silhouette against the drawing before you look at anything else.
- Weigh the unit and compare it against the specified weight.
- Read the grain direction across all panels, including the gusset.
- Feel the hand: does the leather compress and recover, or does it feel boarded?
- Check the shade under D65 light against the approved swatch card.
- Inspect the turn-in at the mouth: 8-10 mm, skived to 0.6-0.7 mm.
- Count stitch density: 8-9 stitches per inch, evenly tensioned.
- Look for a back-tack at every start and stop, with no trailing thread.
- Pull the seam gently at the gusset and watch whether the thread beds in.
- Check the edge: three coats, even width, no ridges at the corners.
- Run a fingernail across the edge to feel for a soft or tacky coat.
- Open and close the #5 zip over 100 cycles and listen for a change.
- Check zip tape alignment: no wave along the length of the closure.
- Test the closure pull force, and check that a magnet cannot rotate.
- Read the plating under a loupe: even colour, no bloom at the contact points.
- Check the feet or base studs: seated flush, four of them touching a flat surface.
- Open the bag fully and check that it stands as the drawing intended.
- Inspect the lining: 0.8 mm interlining, no strike-through, no slack.
- Check interior seams for raw edges and for adhesive showing at the fold.
- Look for the small leather goods pocket alignment against the centre line.
- Confirm the hardware logo placement against the approved artwork in millimetres.
- Smell the unit: a solvent note that has not flashed off is a real finding.
- Compare the unit against the gold seal reference if one already exists.
- Photograph every finding, then write the correction list within 48 hours.
Twenty-four checks sounds like a great deal and takes about forty minutes on a structured bag. The value is not thoroughness for its own sake; it is that a written list converts an impression into something the bench can act on, which is the entire difference between a correction round and an argument.
Station One: Silhouette and Measurement
A sample that measures correctly is a sample that can be made again. Panels should sit within ±0.5 mm of the drawing and the finished unit within ±1 mm overall, and the weight should sit within ±20 g of the specified figure. Those three numbers are the whole of station one.
| Check | Target | What a miss means |
|---|---|---|
| Panel dimensions | ±0.5 mm against the drawing | A pattern that was not graded, or a skive set wrong |
| Overall silhouette | ±1 mm at width, height and depth | Cumulative drift across several operations |
| Handle drop | ±2 mm against specification | A webbing or strap length set by eye |
| Weight | ±20 g against the specified weight | A material substitution or an extra interlining layer |
| Grain direction | Consistent across panels and gusset | Panels cut without a direction plan |
Weigh the unit before you fall in love with it. A bag that is 60 g heavier than specified is usually carrying an extra layer of interlining, which is a legitimate construction decision and also a sign that the panel was not stiff enough on its own.
Station Two: Material and Hand
Material is judged in three movements: look at the grain, compress the surface, then compare the shade under D65 light. A full-grain calfskin specified at 1.2-1.4 mm should compress and recover, and it should not feel boarded, which is the sign of a finish carrying too much pigment.
- Calliper the panel: 1.2-1.4 mm on a full-grain calfskin body, before skiving.
- Compress and release: the surface should recover without leaving a crease.
- Compare shade under D65 light against the approved swatch card, not against memory.
- Check the gusset and the base: those panels come from a different part of the hide.
- Ask which lot the hide came from and whether it is reserved under your name.
The lot question belongs at this station rather than in an email, because the answer determines whether the shade you are approving can be delivered twice. A lot held under your name is a reservation; a lot described as available is an intention, and the two behave differently eight months later.
Station Three: Construction and Stitching
Construction is where a unit reveals whether it was made to a specification or assembled to a shape. Stitch density of 8-9 per inch with bonded nylon thread at Tex 40-60, evenly tensioned on both sides of the seam, is the single most informative reading on a leather bag.
- Stitch density
- 8-9 stitches per inch, consistent along the seam
- Thread
- Bonded nylon, Tex 40-60, colour matched and not shining under light
- Turn-in width
- 8-10 mm, skived to 0.6-0.7 mm at the edge
- Interlining
- 0.8 mm, no strike-through, no bubbles under the surface
- Seam allowance
- Even along the length, with no step at the gusset
- Back-tack
- Present at every start and stop, with no trailing thread
- Strap attachment
- Load-tested at 15 kg for 10 minutes without creep
The strap load figure is worth stating in the brief rather than discovering later. Fifteen kilograms for ten minutes is a modest proving for a shoulder strap, and a unit that creeps under it will creep under a coat, a laptop and a week of commuting.
Station Four: Hardware and Closures
Hardware fails slowly and expensively, so it is the station where measured values matter more than appearances. A #5 zip run over 100 cycles, plating at 0.15-0.3 µm and a magnet that cannot rotate are three findings that cost nothing to check at sample stage and a great deal to discover in month six.
- Run the zip 100 times: no change in resistance, no catching at the start.
- Check zip tape alignment: a wave along the length is a fitting fault, not a zip fault.
- Read plating under a loupe for even colour and for bloom at contact points.
- Test closure pull force against the figure written in the brief.
- Confirm a magnetic closure is seated so it cannot rotate in its housing.
- Check base studs: four of them touching a flat surface with the bag empty.
Salt spray proving at 24 hours, and 48 hours for hardware on a bag sold in a coastal market, is the laboratory version of this station. It costs little at sample stage and can be run against the actual closure you have approved, which is the only version worth running.
Station Five: Interior, Edge and Finish
The interior is judged last because it is judged least well when the exterior has already impressed. Three coats of edge finish, each flashed 8-10 minutes, a lining carrying 0.8 mm interlining, and no adhesive showing at any fold are the readings that matter.
Edge finish
Three coats at even width, burnished between coats, with no ridge at a corner and no tackiness when a fingernail is drawn across it.
Lining
0.8 mm interlining with no strike-through and no slack at the corners, so the interior holds its own shape when the bag is empty.
Interior seams
No raw edges, no adhesive at a fold, and a card case pocket aligned to the centre line within 2 mm.
Odour
A solvent note that has not flashed off is a genuine finding, not a preference, and it usually indicates an adhesive applied too heavily or too late.
Photograph the interior with the bag open and empty, in the same light as the exterior. Most correction lists under-report interior findings simply because nobody photographed them while the bag was still new.
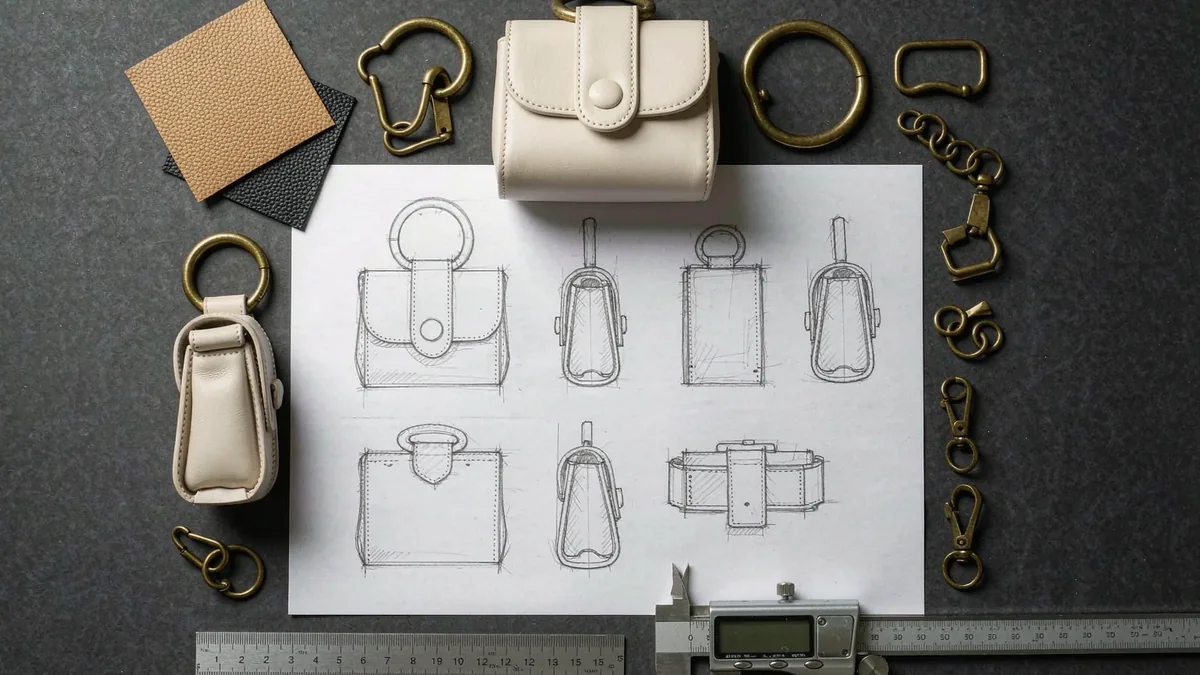
Tests Worth Commissioning Beyond the Eye
Five tests are worth paying for on a first capsule, and all five are issued against the lot rather than against the style. They do not replace the checklist; they answer the questions the eye cannot.
| Test | Method | Typical target |
|---|---|---|
| Tensile strength | ISO 3376 | Read against the specification, not against a pass mark |
| Finish adhesion | ISO 11644 | No delamination at the stated flex cycles |
| Colour fastness to light | ISO 105-B02 | Grade 4 minimum for a bag displayed in a window |
| Rub fastness | ISO 11640 | 500 dry cycles and 100 wet cycles |
| Salt spray on hardware | ISO 9227 | 24 hours, 48 hours for coastal markets |
Colour fastness at grade 4 minimum is the one most often skipped, and it is the one that decides whether a bone shade survives a window display. A bag that fades in three weeks of daylight is a complaint about quality that reads as a complaint about taste.
Scoring the Sample: Accept, Correct or Reject
Score the unit into one of three outcomes, and write the outcome down before you write the correction list. Three outcomes, not five: accept and freeze, accept subject to a named correction, or reject and re-develop the affected operation.
- Accept and freeze
- All 24 checks pass; the unit becomes the gold seal reference
- Accept subject to correction
- Up to four findings, each written against an operation, corrected in 6-10 working days
- Reject and re-develop
- A structural fault: silhouette, pattern, or a closure that cannot be proved
- Correction window
- 6-10 working days, 12-15 on a complex build
- Response deadline
- Send the written correction list within 48 hours of receipt
The 48-hour rule is the discipline that makes the rest work. A correction list sent within two days keeps the bench's attention on your unit; one sent a fortnight later arrives after the bench has moved on, and the second round starts from memory.
What to Write Back Within 48 Hours
A correction list has four fields per finding, and no adjectives. Write what you saw, where you saw it, what the specification said, and what you want changed; leave the interpretation to the bench, which is where it belongs.
- Reference the drawing dimension or the specification line, not the unit number.
- State the observation as a measurement wherever a measurement exists.
- Name the operation you think produced it, but allow the bench to disagree.
- Photograph it, with a scale or a rule in the frame wherever size is the point.
- Close with the frozen items: what must not change without a written note.
Write down what is frozen. A correction list that does not say what must stay the same invites a bench to solve your finding by changing something you had already approved, and that is how a second round becomes a third.
Our programme runs across 7 production lines with about 200,000 pcs per month of capacity and has held export experience since 2014, carried out through our validated partner factory Quanzhou Yingming Bags, an SGS-validated site. Sampling returns in 6-10 working days, 12-15 on a complex build, bulk runs 35-50 days, inspection is drawn at AQL 2.5 under ISO 2859-1, and handover is on FOB Xiamen terms. The swatch card set is billed at USD 4.80 and credited against the first order.
The evaluation sequence sits under luxury sampling, accept and reject arithmetic under luxury quality control, material provenance under luxury materials, and the full route on the high-end handbag sourcing page. A buyer planning the wider evaluation should also read high-end handbag sourcing for luxury buyers.
Send your sample checklist with the brief
Send your drawing, quantity per colourway and the tolerances you care about. You will receive a sample built to them, a measurement sheet and a correction list template, within two working days. Request a quote.
Frequently Asked Questions
How long should it take to evaluate a handbag sample?
About forty minutes for a structured bag, working the 24 checks in order across five stations. That is less time than a second sample round costs, and it is the only activity that converts an impression into a written list the bench can act on without guessing.
What measurement tolerance should I expect on a sample?
Panels within ±0.5 mm of the drawing, the finished unit within ±1 mm at width, height and depth, handle drop within ±2 mm, and weight within ±20 g of the specified figure. Anything outside those figures should be written as a finding with a photograph.
What stitch density is correct on a leather bag?
Eight to nine stitches per inch, evenly tensioned on both sides of the seam, using bonded nylon thread at Tex 40-60. Fewer than eight looks loose and will creep under load; more than nine perforates the panel and weakens the seam it is meant to strengthen.
How many coats of edge finish should there be?
Three, each flashed 8-10 minutes and burnished between coats. One coat sinks into the leather and leaves a dull line; two usually shows a ridge at the corners. Tackiness when a fingernail is drawn across the edge means a coat has not cured.
What should I check on the zip and the closure?
Run a #5 zip over 100 open and close cycles, listening for a change in resistance, and check the tape for wave along its length. Then test closure pull force against the brief and confirm a magnetic closure is seated so it cannot rotate in its housing.
Which laboratory tests are worth paying for?
Five per lot: ISO 3376 tensile strength, ISO 11644 finish adhesion, ISO 105-B02 colour fastness to light at grade 4 minimum, ISO 11640 rub fastness at 500 dry and 100 wet cycles, and ISO 9227 salt spray on hardware at 24 hours.
Why are test reports issued against a lot rather than a style?
Because a report describes the material that was tested, and material varies between production batches. Issuing reports against a style would let a substitution occur without invalidating the paperwork, which is exactly the failure the testing was commissioned to prevent.
How quickly should I send my correction list?
Within 48 hours of receiving the unit. A list sent inside two days arrives while the bench still holds your piece in mind; one sent a fortnight later arrives after the bench has moved on, and the corrected round then starts from memory rather than from the unit.
What are the three possible outcomes for a sample?
Accept and freeze, where all 24 checks pass and the unit becomes the gold seal reference. Accept subject to correction, with up to four findings corrected in 6-10 working days. Or reject and re-develop, where a structural fault affects the silhouette, the pattern or a closure.
How much weight variation is acceptable on a sample?
Within ±20 g of the specified weight. A unit heavier than that is usually carrying an extra layer of interlining, which is a legitimate construction decision and also a signal that the panel was not stiff enough on its own to hold the silhouette.
Should I evaluate the interior as carefully as the exterior?
Yes, and photograph it while the bag is new and empty. Interior findings are consistently under-reported because the exterior has already impressed the evaluator. Check for 0.8 mm interlining, no strike-through, no adhesive at folds and pocket alignment within 2 mm.
What does a solvent smell in a new bag indicate?
That an adhesive or edge coat has not fully flashed off, or was applied too heavily or too late in the sequence. It is a genuine finding rather than a preference, and it is worth writing down, because the note will not have disappeared by the time the goods reach a boutique.
How many correction rounds are normally needed?
Two on a straightforward silhouette and three to four where bespoke hardware is involved, which is why a programme should allow four. A bespoke clasp typically needs a first try, a correction and a confirming round before it can be released to bulk.
What should I freeze after approving a sample?
The measurement sheet, one gold seal reference unit per style and colourway, the lot number and the approved swatch card. Freezing means no change to any of them without a written note, which is what prevents gradual specification drift over later deliveries.
People Also Ask
How do I check the quality of a sample bag?
Run 24 checks in a fixed order: measure panels to ±0.5 mm, count stitch density at 8-9 per inch, check three edge coats, run the zip 100 cycles and inspect the lining and interior seams with the bag empty.
What tolerance is acceptable on a handbag sample?
Panels within ±0.5 mm of the drawing, overall silhouette within ±1 mm, handle drop within ±2 mm and weight within ±20 g. Anything outside those figures is a written finding with a photograph.
How many stitches per inch should a luxury bag have?
Eight to nine, with bonded nylon thread at Tex 40-60. Fewer looks loose and creeps under load; more perforates the panel and weakens the seam rather than strengthening it.
Should I test a sample in a laboratory?
Yes, five tests per lot: ISO 3376 tensile, ISO 11644 finish adhesion, ISO 105-B02 light fastness at grade 4, ISO 11640 rub fastness and ISO 9227 salt spray at 24 hours.
How fast should I respond to a sample?
Within 48 hours, with a written correction list carrying four fields per finding: the specification reference, the observation as a measurement, the operation you believe caused it and a photograph.
Sources and further reading
Every figure on this page is either our own programme data or attributed below. Open the originals before you write them into a specification.
- ISO — International Organization for StandardizationISO Publisher of ISO 3376, ISO 11644, ISO 105, ISO 11640 and ISO 9227, the test methods cited in the commissioning table.
- Leather Working GroupLeather Working Group Tannery audit protocol behind lot qualification, which is what allows the shade approved at sample stage to be delivered twice.
- European Chemicals AgencyECHA Administrator of REACH, including Annex XVII restrictions relevant to adhesives, finishes and the solvent note described at station five.
- California Office of Environmental Health Hazard AssessmentOEHHA The authority behind California Proposition 65, which governs warning requirements for listed substances in goods sold in that state.
- SGSSGS Third-party testing body whose laboratory reports are issued per lot, and whose validation covers the site carrying out this programme.