Unboxing Photography for Luxury Bag Brands: Settings, Costs and Shot Order
What does an unboxing shoot for a fine handbag collection actually require? Four numbers settle most of it: light balanced at 5500 K with a colour rendering index above 95, exposure around f/8 at ISO 100 and about 1/125 second, colour held to delta E 2.0 against a calibration target rather than by eye, and output at a 3000 px long edge in both a master file and a web file. Get those four right and the remaining work is sequence rather than equipment.
What a Shoot Costs Before Anything Is Shot
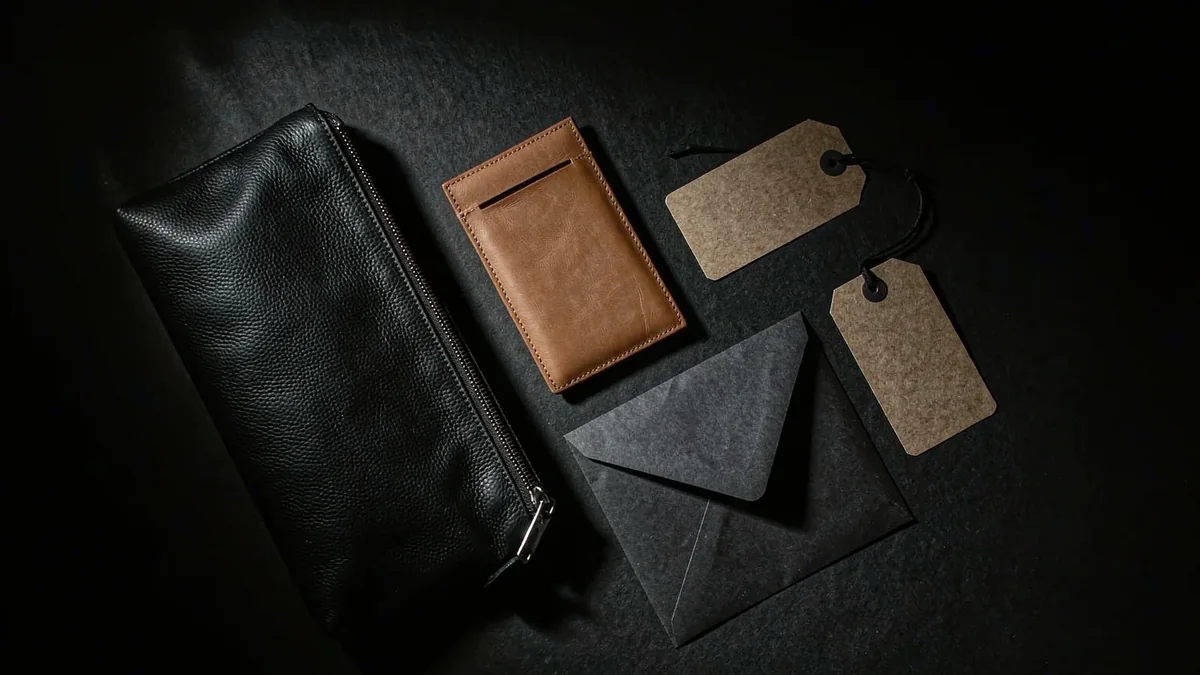
An unboxing shoot is usually costed as a day rate, which hides where the money actually goes. Three lines dominate: the studio day, the retouching hours, and the reshoots caused by problems that were foreseeable. Retouching is the least considered and commonly the largest, because a shoot that returns needing colour correction will consume more hours afterwards than it took to capture.
Expect roughly twelve to eighteen finished assets from one collection, one studio day to capture them, and two to three days of skilled retouching to finish them. The combined figure is what should be compared when deciding whether to shoot in-house or to book a studio, and it is why the least costly day rate rarely produces the lowest total cost.
The Kit List and What Each Piece Contributes
A serviceable unboxing set does not need much, but every item earns its place with a number. Two daylight-balanced panels at 5500 K and a colour rendering index above 95. A tripod, since the sequence depends on identical framing between shots. A polarising filter for anything with a gloss surface. And a calibration target, without which colour is opinion.
Beyond that, three inexpensive items change outcomes more than any lens purchase. A grey card used to set exposure before the first shot and again halfway through, because light drifts. A reflect or bounce card to lift the shadow side by about one stop. And a pair of cotton gloves, since fingerprints on matte laminate are visible at the resolution modern cameras record.
Lighting Numbers That Work
Light at 5500 K keeps white balance predictable and matches daylight, which is how most customers will finally see the piece. The rendering index matters more than the nominal colour temperature: below 95, a dyed leather can shift noticeably against a printed carton, and no amount of correction will recover what the light never recorded in the first place.
Place the key panel at roughly forty-five degrees to the subject and about 600 mm away, with fill at the opposite side carrying about half the key irradiance. That gives a soft two-to-one ratio that holds form without flattening it. Anything closer raises hotspots on a matte film; anything further loses modelling on a structured silhouette.
- Light colour temperature
- 5500 K daylight, rendering index above 95
- Key position
- 45 degrees to the subject, about 600 mm away
- Key to fill ratio
- Roughly 2:1 for form without flattening
- Exposure
- Around f/8 at ISO 100, roughly 1/125 second
- Focal length
- 50 mm equivalent to avoid distortion
- Colour target
- Calibration chart, held to delta E 2.0
- Output size
- 3000 px long edge minimum, master plus web file
Exposure and Colour Reference
Exposure is set once and locked. Around f/8 at ISO 100 gives depth of field enough to hold the whole carton sharp at close range without diffraction softening the fine print on a tag, and it suits the kind of light most sets provide. A 50 mm equivalent focal length keeps straight lines straight, which matters because a wide lens turns an expensive carton into a trapezoid.
Colour is settled with a target rather than by eye. Photograph the calibration chart under the same light, build a profile from it, and hold the result to delta E 2.0 against the known values. Doing this removes the single largest cause of retouching cost, because correcting colour afterwards always costs more hours than preventing it at capture.
Blocking the Reveal in Three Shots
Unboxing is a sequence, and the sequence is what gets photographed. Three frames carry it: the sealed carton standing alone, the lid lifted with the dust cover still folded, and the piece released from its cover. Everything else is supporting material. Blocking those three first means the shoot still succeeds even if the day runs short.
Frame identically across all three so the set can be cut together, which means marking the tripod position and not moving the carton between takes. Maintain the same distance, and the sense of reveal comes from what changes inside the frame rather than from the camera moving, which is the mistake that most often makes these sets look improvised.
Handling Reflections on Different Surfaces
Matte and gloss surfaces argue with each other. A matte carton wants stronger light and rewards it, while gloss throws the source straight back into the lens and needs either a polarising filter or a repositioned panel. Where a single frame carries both, prioritise the surface the message sits on and accept some compromise on the other.
| Surface | Problem | Fix |
|---|---|---|
| Matte laminate | Reads flat under soft light | Raise the key and hold a 2:1 ratio |
| Gloss laminate | Returns the source to the lens | Polarise, or move the panel off axis |
| Foil detail | Blows out before the board exposes | Drop exposure a stop and let the board fall |
| Metal hardware | Shows the room rather than the fitting | Bounce card close to the axis of the fitting |
| Pale leather | Loses separation against pale pack | Lower key relative output by one stop |
Foil deserves a particular note. A foil detail reaches full brightness before the surrounding board has properly exposed, so the exposure has to be chosen to protect the foil and the board lifts afterwards if it must. Exposing for the board instead leaves every foil element as a flat, empty patch with no edge definition anywhere.
How Many Assets per Collection Are Enough
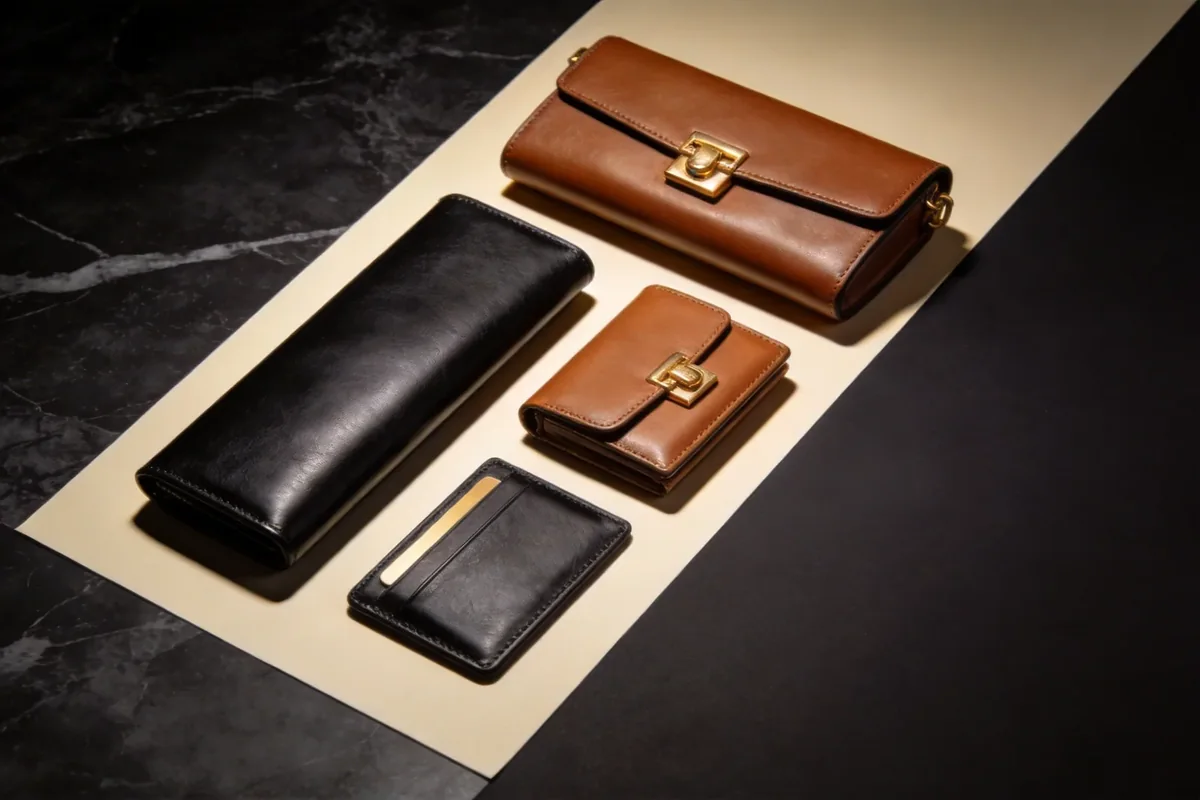
Twelve to eighteen finished assets cover most launches: three hero frames from the reveal sequence, four to six silhouette studies on a plain ground, two or three detail frames showing hardware and stitching, one scale frame with a familiar object for size, and a small number of vertical crops the social channels will need.
Fewer than twelve and the collection looks thin wherever it is merchandised; more than eighteen rarely gets used, because the additional frames take longer to produce than they take to be forgotten. Count them before the shoot rather than during it, because the shot list is what keeps a studio day from running away. Write it in shooting order too, not in order of importance, so the day can stop cleanly if something ahead slips.
File Format and Delivery Numbers
Deliver two things per asset: an uncompressed master for later use and a compressed web file sized for immediate use. Sixteen-bit masters preserve gradient information that eight-bit files throw away, which matters most on the large flat faces of a carton where banding appears first. Web files in sRGB at a 3000 px long edge suit nearly every retail requirement.
Agree file naming and delivery before the day begins. Names carrying the collection reference, the frame number and the orientation save more retouching hours than any other administrative decision, and they stop the common situation where a finished set has to be opened and identified one asset at a time. Fold the same convention into the brief given to whoever retouches, because a naming disagreement halfway through costs more time than settling it at the start.
Where Money Is Wasted
Four habits account for most overspend, and none are equipment-related. Shooting without a colour target, which guarantees hours of correction later. Moving the camera between takes, which forces reshoots. Attempting every surface in one frame, since mixed finishes rarely resolve together. And starting the reveal before the set has been tidied, since every stray cable and fingerprint has to be removed afterwards rather than simply not recorded.
- No colour target: expect two extra hours of correction per ten assets.
- Camera moved between frames: reshoot the sequence rather than trying to match it in post.
- Every surface in one frame: separate the hero product shot from the hardware study.
- Untidied background: check the frame edges, because dust and leads sit exactly there.
- No shot list: write the twelve to eighteen frames first and count them off on the day.
Working With Existing Floorspace and Temporary Sets
Most houses do not have a permanent studio, and a temporary set can work perfectly well if two conditions are met. Kill the room light completely, because mixed sources are the reason a set looks inconsistent from frame to frame. Then give the set a plain sweep of background far enough back that no seam enters the frame at a 3000 px inspection.
Height matters more than area. Shooting slightly down onto the carton at around fifteen degrees flatters the lid and hides the working surface, whereas shooting level tends to catch whatever is behind the set. A small walking platform or a raised trestle achieves this more reliably than any amount of arrangement at table height.
A calibration target shot under the same light costs one minute and removes the largest single line in the retouching day. Correcting afterwards never recovers what the light failed to record.
How Long Each Stage Takes
Timing is the least discussed part of a shoot and the most useful. Allow about ninety minutes to set and measure light, forty minutes to photograph the three reveal frames properly, another two hours for the silhouette and detail set, and roughly thirty minutes to re-shoot the target at the end under identical conditions.
Delivery follows: allow forty-eight hours for proof selection, three working days for retouching twelve assets, and a further day for revisions agreed in advance. Building those numbers into the launch plan is what stops a collection going live with uncorrected colour because somebody promised a gallery the next morning.
Tying the Pack to the Shoot
Photography is easier when the pack has been specified with it in mind. A lid-to-base gap under 0.5 mm survives close framing, and a tapered gap does not. A matte laminate hides fingerprints, whereas a soft-touch finish records every one at macro distances. And any decoration sitting less than 5 mm from a crease will crack, which is visible at 3000 px.
Three specifications matter most to the camera: surface finish, colour tolerance held to delta E 2.0 across the run, and the reveal resistance that lets the sequence be shot cleanly. Agree those with the packaging team before the shoot is booked, since correcting them afterwards means rebuilding the carton rather than relighting it.
Programme Figures and Pack Associations
Our programme runs through our validated partner factory Quanzhou Yingming Bags, an SGS-validated site with 7 production lines and roughly 200,000 pcs per month of capacity, holding export experience since 2014. Sample presentation packs take 6-10 working days, or 12-15 where a fitted insert is included; bulk occupies 35-50 days; and minimums sit at 500 pcs per style and colourway leaving FOB Xiamen.
A pack specified for the camera, a debossed mark reading as shadow rather than contrast and a matte surface that forgives handling, lands near USD 4.80 per unit at programme volumes. The presentation details behind those choices sit on luxury packaging, seasonal framing on luxury trends, and the inspection plan that holds the run together on luxury quality control.
Specify the pack so the camera has less to fix
Send the collection size, the surfaces involved and the delivery dates. You will receive a presentation specification naming finish, colour tolerance and reveal resistance suited to being photographed. Request a quote.
Frequently Asked Questions
What colour temperature suits unboxing photography?
5500 K daylight-balanced light, with a colour rendering index above 95. The rendering index matters more than the nominal temperature, because light that never recorded a colour accurately cannot be corrected afterwards no matter how much time is spent.
What exposure settings work best for a rigid carton?
Around f/8 at ISO 100 and roughly 1/125 second. That aperture holds the whole carton and its tag sharp at close range without introducing the softening that appears when a lens is stopped much further down.
Why use a 50 mm equivalent focal length?
Because it keeps straight lines straight. A wider lens distorts, turning an expensive carton into a trapezoid, and that distortion is most visible exactly where a viewer expects precision: the corners and the lid-to-base gap.
How should colour accuracy be controlled?
With a calibration target photographed under the same light as the set. Build a profile from it and hold results to delta E 2.0 against the known values, rather than adjusting by eye on a screen that may itself be inaccurate.
Where should lighting be positioned?
Put the key panel at about forty-five degrees and roughly 600 mm from the subject, with fill carrying about half the key irradiance. That gives a two-to-one ratio holding form without flattening a structured silhouette.
How many reveal frames are needed?
Three carry the sequence: the sealed carton, the lid lifted with the dust cover still folded, and the piece released. Block those first so the shoot still succeeds even if the available time runs short later in the day.
How do you photograph foil without losing it?
Expose to protect the foil. Foil reaches full brightness before the surrounding board is correctly exposed, so choose exposure that keeps detail in the letters and lift the board afterwards if required.
How many assets should a collection deliver?
Twelve to eighteen. Three from the reveal, four to six silhouette studies, two or three detail frames, one scale frame, and a few vertical crops. Fewer looks thin in merchandising; more are rarely used.
What file format should be archived?
Sixteen-bit masters alongside sRGB web files at a 3000 px long edge. Sixteen-bit files preserve gradient information that eight-bit files discard, which is where banding appears on the large flat faces of a carton.
How long does a typical shoot take?
About ninety minutes to set and measure light, forty minutes for the reveal frames, roughly two hours for silhouette and detail, and thirty minutes to re-shoot the target at the end under identical conditions.
Why do sets sometimes need reshoots?
Usually because the camera moved between takes, or because no colour target was captured. Both force either a reshoot or hours of correction, and prevention costs a minute while correction costs days.
How should the pack itself be specified for photography?
Keep the lid-to-base gap under 0.5 mm and parallel, choose a matte laminate that hides fingerprints, keep decoration at least 5 mm from any crease, and hold run colour to delta E 2.0 so every carton photographs the same.
People Also Ask
Can a phone camera produce usable launch assets?
For social crops, often yes, provided light is controlled and colour is profiled. Full retail imagery still benefits from the control and depth of field a larger sensor gives, particularly on close hardware studies.
Is a polarising filter worth carrying?
Yes, especially with gloss laminate or metal hardware. Reflection control at capture removes work later, and a polariser is inexpensive relative to the time it saves retouching a single gloss lid.
Should the dust cover appear in the hero frame?
Usually in the middle reveal frame, and removed for the third. Keeping the cover in one frame establishes the care taken of the piece, which is part of what the audience is reading.
How should assets be named?
With the collection reference, the frame number and the orientation in every file name. That convention saves more time than any other administrative decision and prevents open-and-identify sessions later.
Does the pack finish really change retouching cost?
Yes. A matte laminate hides handling marks, whereas soft-touch records every fingerprint. Choosing finishes for how they photograph lowers retouching hours across the whole set.
Sources and further reading
Every figure on this page is either our own programme data or attributed below. Open the originals before you write them into a specification.
- ISO - International Organization for StandardizationISO Publisher of ISO 3664 specifying viewing conditions for graphic technology and photography, including illuminant and rendering requirements.
- X-Rite colour managementX-Rite Produces calibration targets and profiling tools used to hold captured colour to a measured delta E reference.
- International Commission on IlluminationCIE Defines the colour spaces and standard illuminants underpinning colour temperature and rendering index measurements.
- SGS - Inspection and verificationSGS Third-party validation and goods-in inspection body referenced for site validation and pre-shipment checks.