From Tech Pack to Luxury Bag Sample, Step by Step
The distance between a tech pack and a signed sample is nine steps, and each one has a decision attached that determines whether the next one goes smoothly. The process starts with a gap review rather than with cutting, because the most expensive errors are the ones packed into the document before the bench ever sees it. From there it runs through pattern development, material call-off, cutting, closing, edge finishing, hardware setting, assessment against the pack, correction and pre-production. A standard build takes 6 to 10 working days per round and 12 to 15 for complex constructions. This guide walks each step, names the decision inside it, and shows where the process branches when something does not resolve.
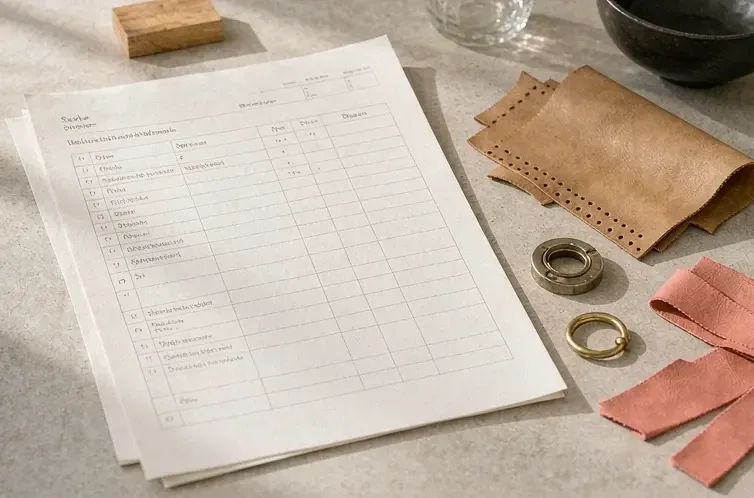
Before step one: what has to be true
Three things must be settled before the pack goes to the bench. The specification must carry tolerances rather than dimensions alone. One person must be named as the approver for the round. And the hardware decision must be at least provisional, so tooling can run in parallel with pattern work rather than after it. Where any of these is missing, the first step is not cutting, it is a conversation, and that conversation is cheaper now than it will be in three weeks.
The fourth condition is subtler and worth stating: the brief should be frozen. A brief that moves during a round does not produce a corrected sample, it produces a different bag, and the difference will not be visible until the corrections are assessed against notes that no longer describe what was asked for.
Step one: pack review and the gap list
The bench reads the pack the way a builder reads a drawing: looking for what is missing rather than admiring what is present. The output is a gap list — every field that is blank, ambiguous or physically unrealisable, with a question against each. Common entries are substance, skive depth, seam allowance, interlining weight, edge build and thread ticket number. The list goes back to the brand and is answered in writing before anything is cut.
This step is where most programmes either save or waste their development time. Answering six questions costs a day; discovering the same six gaps in a finished sample costs a round.
Step two: pattern development
Pattern work converts the pack into pieces that can be cut. On a structured bag this means a full pattern set: body panels, gussets, facings, linings, pocket pieces, reinforcements and the interlining shapes that bond to each. Every piece carries a grain direction, a seam allowance and a note on where it is skived and to what depth. Digital pattern work allows the set to be adjusted and re-graded without cutting material, which is why iteration at this stage is inexpensive.
The decision inside this step is whether to cut a toile. On a novel construction, a toile in inexpensive material resolves proportion and assembly order before the final leather is committed. On a proven construction it is unnecessary, and the pattern goes straight to cutting.
Step three: material and component call-off
Every line of the bill of materials is either confirmed in stock, ordered, or flagged as client-supplied. Leather is called off against a single dye lot, with the full requirement for the sampling phase reserved rather than reordered mid-process. Hardware is checked for finish and shade against the reference clasp. Thread, interlining, adhesive and edge paint are matched to their specification lines.
- Leather: species, tannage, substance, temper, and dye lot reserved before cutting.
- Lining: fibre, weight and shade matched to the reference.
- Interlining and reinforcement: type, weight and the panels each bonds to.
- Thread: fibre, ticket number, needle size and colour for each stitch position.
- Hardware: alloy, plating thickness, finish, and the reference clasp for comparison.
- Edge paint: type, number of coats, target build and sheen against a chip.
Step four: cutting
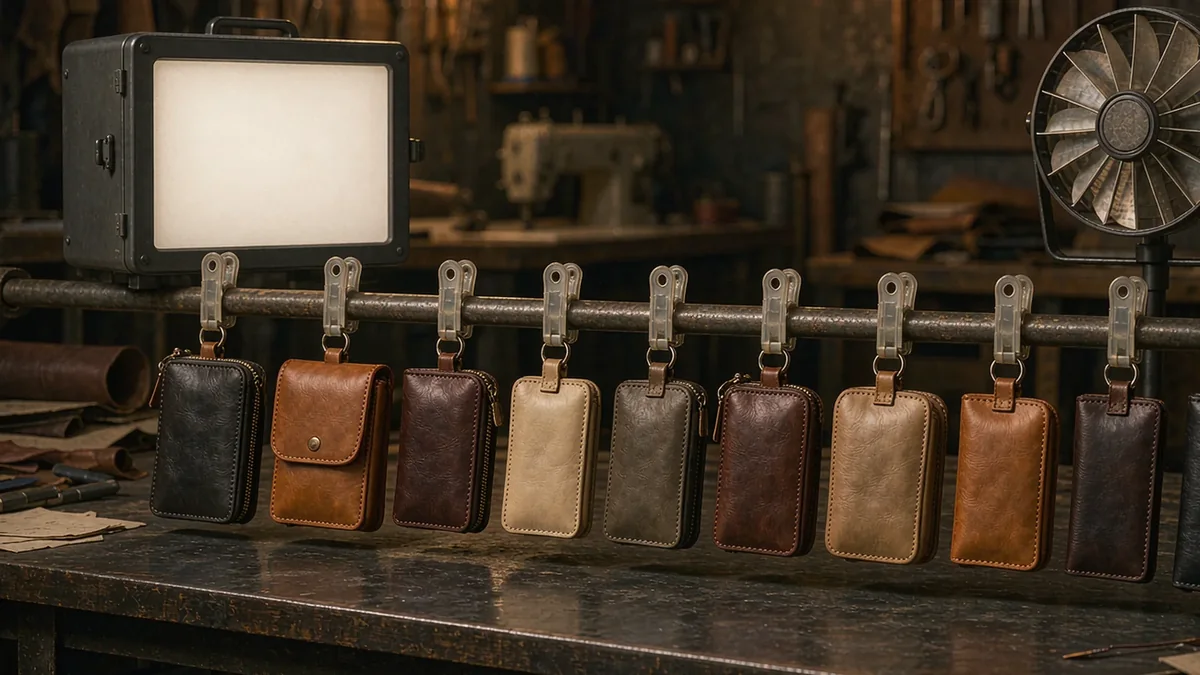
Panels are cut in sequence, and on any bag where panels meet visibly, they are taken from adjacent positions on the same hide. This is a shade control rather than a cutting convention, and it is what keeps the front and the gusset of one bag from reading as two different colours. On exotic skins the scaled pattern is placed on the skin and photographed before the knife runs, because a mis-placed piece is not recoverable.
Each cut piece is labelled with its panel identity and its position in the sequence, so that a problem found in assembly can be traced back to a specific hide and a specific position.
Step five: closing and assembly
Closing turns flat pieces into a three-dimensional body. Skiving, bonding, folding and stitching run in a sequence determined by the construction notes, and that sequence matters: two routes to the same silhouette produce different hand and different durability. Stitch density is set to the specification, 8 stitches per inch on visible calfskin topstitching, and the tension is checked on a test piece before the first seam runs.
Where an assembly problem appears — a corner that will not turn, a gusset that fights the body — the decision is whether to adjust the pattern or the sequence. Adjusting the sequence is faster and usually correct; adjusting the pattern is slower and usually necessary only when the geometry itself is wrong.
Step six: edge finishing and hardware setting
Edge finishing is where a sample begins to look finished, and it is the operation most often under-specified. Coats are applied, sanded and re-applied to the target build, then compared for sheen against the reference chip. Hardware is set with a jig so that plates seat flatly and escutcheons centre within 0.5 mm, and every closure is cycled twenty times by hand before the piece leaves the bench.
Step seven: assessment against the pack
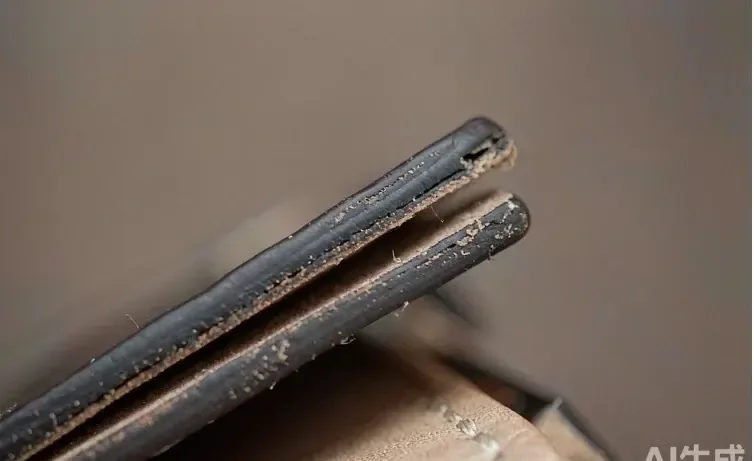
The finished sample is assessed line by line against the pack rather than admired as a whole. Dimensions are measured against their tolerances, stand and balance are checked loaded as well as empty, hardware is cycled and pull-tested, colour is measured against the signed panel under D65, and stitch density is counted. Every finding is recorded with a photograph and a measurement.
The assessment is also where the decision branches. If the findings are local — a stitch line, an edge build, a hardware shade — the piece goes to correction. If they are structural — proportion, stand, assembly order — the pattern goes back to step two, and that is a second round rather than a correction.
| Step | Output | Decision inside it | Working days |
|---|---|---|---|
| Pack review | Written gap list, answered before cutting | Proceed or hold for answers | 1 |
| Pattern development | Full pattern set with grain and skive notes | Toile or straight to cutting | 1 to 2 |
| Call-off | Complete component tray | Proceed or wait for a component | 1 to 2 |
| Cutting | Labelled panels in hide sequence | Placement approved on exotic skins | 1 |
| Closing | Three-dimensional body | Adjust sequence or adjust pattern | 1 to 3 |
| Finishing | Edges built, hardware seated | Accept build or re-finish | 1 to 2 |
| Assessment | Findings with measurements and photographs | Correct or return to pattern | 1 |
| Correction | Second build with every prior point closed | Approve or run a further round | 1 to 3 |
| Pre-production | Piece built on the line with production tooling | Release bulk or correct the line | 1 to 2 |
Step eight: correction and the second build
Every finding from step seven becomes a numbered correction, and the second build is assessed against that list before anything else is considered. A point is only closed when it is confirmed on the piece, not when the bench believes it has been addressed. Where a correction cannot be closed on a second build, the cause is usually upstream in the pattern rather than at the bench, and the honest move is to say so rather than to attempt a third time on the same geometry.
Re-cutting and re-finishing one panel costs around USD 4.80 in bench time, before material and re-assembly. That figure is why the correction list should be consolidated by one approver rather than assembled from several stakeholders: the count of corrections, not the count of opinions, is what determines the cost of the round.
Step nine: pre-production and sign-off
The final step is built on the production line with production tooling and production jigs, by the people who will run the order. It proves repeatability, which a sampling bench cannot: the sampling bench proves that the bag can be made, the line proves that it can be made five hundred times. The pre-production piece is inspected at the same level as any production lot and, if it passes, is signed, dated, photographed and stored away from light as the reference for bulk.
- Confirm the pack carries tolerances, one approver is named and the hardware decision is at least provisional.
- Review the pack for gaps and answer every one in writing before cutting.
- Develop the full pattern set and decide whether a toile is needed.
- Call off every component, reserving leather against a single dye lot.
- Cut panels in hide sequence, photographing placement on exotic skins.
- Close the body to the specified construction sequence and stitch density.
- Build the edges and set the hardware with jigs, cycling every closure twenty times.
- Assess line by line against the pack, recording photographs and measurements.
- Correct, re-build and confirm each numbered point on the piece before signing off.
Local finding
A stitch line, an edge build or a hardware shade. Corrected on the piece and confirmed on the second build; does not return the pattern to development.
Structural finding
Proportion, stand or assembly order. Returns the pattern to step two and constitutes a second round rather than a correction.
Component finding
Hardware that fails seating, cycling or pull testing. Branches to the component rather than to the pattern, and re-tooling dominates the schedule.
Material finding
Leather that behaves differently from its reference. Branches to a material conversation about substance, temper or tannage.
Step one. Six questions answered before cutting cost a day; the same six discovered in a finished sample cost a round.
Where the process branches
The steps are sequential, but the process is not linear, because three findings send the work backwards. A structural finding returns the pattern to step two. A component finding sends the hardware back to tooling, and the tooling window then dominates the schedule rather than the bench. A material finding reopens the conversation about substance, temper or tannage, and may require a fresh dye lot to be reserved.
What should never happen is a branch that is not recorded. Every return to an earlier step is noted on the pack with the reason and the date, so that the finished sample carries a history rather than a mystery. That history is what allows a brand to understand why a style took three rounds rather than two, and it is the only reliable basis for planning the next one.
- Steps from pack to signed sample
- 9
- Working days per round, standard
- 6 to 10
- Working days per round, complex
- 12 to 15
- Stitch density
- 8 stitches per inch on visible calfskin topstitching
- Tolerance, structured body
- ±1 mm; hardware position ±0.5 mm
- Colour confirmation
- Delta E 1.0 against the signed panel under D65
- Hardware seating
- Centred within 0.5 mm, plates seated flatly with a jig
- Closure cycling
- 20 cycles by hand at the bench, 5,000 on a rigged frame per style
- Correction cost per panel
- Around USD 4.80 in bench time
- Minimum order quantity
- 500 pieces per style per colourway
- Bulk lead time
- 35 to 50 days from approved sample
- Shipment terms
- FOB Xiamen
- Programme history
- Export work since 2014 across 7 production lines, about 200,000 pieces per month
The process in one paragraph
- Nine steps separate a pack from a signed sample, and each carries one decision. Review the pack for gaps and answer them before cutting, develop the full pattern set, call off every component against a single dye lot, cut panels in hide sequence, close to the specified construction sequence, build the edges and set hardware with jigs, assess line by line against the pack, correct and confirm each point on the piece, then build a pre-production piece on the line with production tooling. Local findings are corrected; structural findings return the pattern. Re-cutting one panel costs around USD 4.80 in bench time, which is the argument for consolidating the correction list through one approver.
Start with the gap list
Send us your pack and we will return the gap list, the round plan with dates, and the component tests we will run before cutting. Request a sampling consultation and quotation at /contact-quote/.
Frequently Asked Questions
How many steps are there from a tech pack to a signed sample?
Nine: pack review, pattern development, component call-off, cutting, closing, edge finishing and hardware setting, assessment, correction, and pre-production sign-off. Each carries one decision that shapes the next.
Why does the process start with a review rather than with cutting?
Because the most expensive errors are already in the document. Answering six specification questions before cutting costs a day; discovering the same six in a finished sample costs a full round.
What is a toile and when is one needed?
A trial build in inexpensive material that resolves proportion and assembly order before the final leather is committed. It is worth it on novel constructions and unnecessary on proven ones.
Why must panels be cut in hide sequence?
Because a hide is not uniform from shoulder to belly. Taking adjacent panels from the same position keeps the front and gusset of one bag from reading as different colours.
How is an exotic skin handled differently?
The scaled pattern is placed on the skin and photographed before the knife runs. A mis-placed exotic panel cannot be recovered, so the placement is approved first rather than discovered afterwards.
What is the difference between a local and a structural finding?
A local finding is a stitch line, an edge build or a hardware shade, corrected on the piece. A structural finding is proportion, stand or assembly order, and it returns the pattern to development.
How many times is a closure cycled?
Twenty times by hand at the bench on every sample, and 5,000 times on a rigged frame per style during component testing. The bench check catches seating, the rig catches fatigue.
What tolerance applies to hardware position?
Plus or minus 0.5 mm from a stated datum on structured work. Hardware is set with a jig so plates seat flatly and escutcheons centre consistently.
How much does a correction cost?
Re-cutting and re-finishing one panel costs around USD 4.80 in bench time, before material and re-assembly. That is why the correction list should be consolidated by one approver rather than assembled from several stakeholders.
What does the pre-production piece prove?
Repeatability. The sampling bench proves the bag can be made; the line proves it can be made five hundred times, with production tooling, jigs and the people who will run the order.
How long does each step take?
One to three working days each on a standard build, giving 6 to 10 days per round. Complex constructions run 12 to 15 days, with hardware tooling frequently dominating the schedule.
What happens to the signed sample?
It is dated, photographed and stored away from light. It becomes the reference that final inspection compares every drawn piece against for the life of the style.
People Also Ask
What is the first step in making a bag sample?
A pack review that produces a written gap list. Every blank, ambiguous or unrealisable field is answered in writing before any material is cut.
What is closing in bag construction?
Turning flat cut pieces into a three-dimensional body through skiving, bonding, folding and stitching, in a sequence set by the construction notes.
Why is edge finishing specified separately?
Because it is the first thing a client touches and the last thing most packs describe. Coats, target build and sheen against a reference chip keep it consistent.
What is a pre-production sample?
The final build made on the production line with production tooling and jigs. It proves the line can repeat the approved sample before bulk is released.
How do you know a sample is ready to approve?
When every numbered correction has been confirmed closed on the piece and no new structural question has appeared during assessment.
Sources and further reading
Every figure on this page is either our own programme data or attributed below. Open the originals before you write them into a specification.
- ISO 9001:2015 Quality management systemsInternational Organization for Standardization Framework for design and development planning, including the review and verification gates between the steps described here.
- ISO 2859-1:1999 Sampling procedures for inspection by attributesInternational Organization for Standardization Referenced for the inspection of the pre-production piece against which bulk production is later compared.
- CIE colour difference metrics and standard illuminantsInternational Commission on Illumination Source of the D65 reference and the Delta E limit used when sample colour is confirmed against the signed panel.
- Reporting on development process and sourcing in luxury supply chainsSourcing Journal Industry reporting on how development sequencing affects time to market in luxury programmes.