How to Approve a Luxury Handbag Sample Correctly
Approving a sample is the moment a design becomes a contract. Everything the piece contains — its dimensions, its substance, its stitch density, its hardware, its colour — becomes the standard that five hundred pieces will be measured against, and any detail you did not check becomes a tolerance you did not set. The approval is therefore not a formality at the end of development; it is the specification, finally written in leather. This guide sets out the five conditions that must hold before assessment begins, a twenty-four point checklist covering external, internal, hardware, colour and measurement checks, what to record at the moment of approval, and how to decline a sample without restarting the relationship.
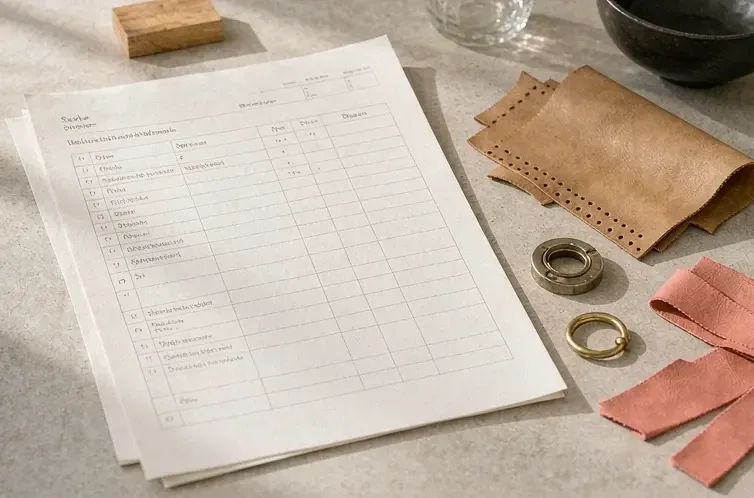
What an approval actually commits you to
A signed sample is the reference against which bulk will be inspected. Every dimension on it becomes the target, every tolerance you did not specify becomes the tolerance on the piece in front of you, and every fault you accepted becomes acceptable in production. That is a great deal of authority to place in one object, which is why the assessment has to be systematic rather than impressionistic.
It also commits the other side. Once a sample is signed, material is called off, the line is scheduled and the bulk window begins. A change requested after that point is not a correction, it is a re-specification, and it carries the cost and the delay of one.
Before you assess: the five conditions
Assessment should not begin until five things are true. The pack is complete and carries a revision number. The correction list from the previous round is available, so each point can be confirmed closed. The signed colour reference panel is present in the room. The piece has rested for at least a day after finishing, because edge paint and adhesives continue to settle. And one person is present with authority to decide.
- The pack is complete, versioned, and matches the piece being assessed.
- The previous round's correction list is to hand, numbered and unanswered points highlighted.
- The signed colour reference panel is in the room, not in a file elsewhere.
- The piece has rested at least a day since finishing was completed.
- One person is present who can decide, rather than a group who can only comment.
The checklist, part one: external
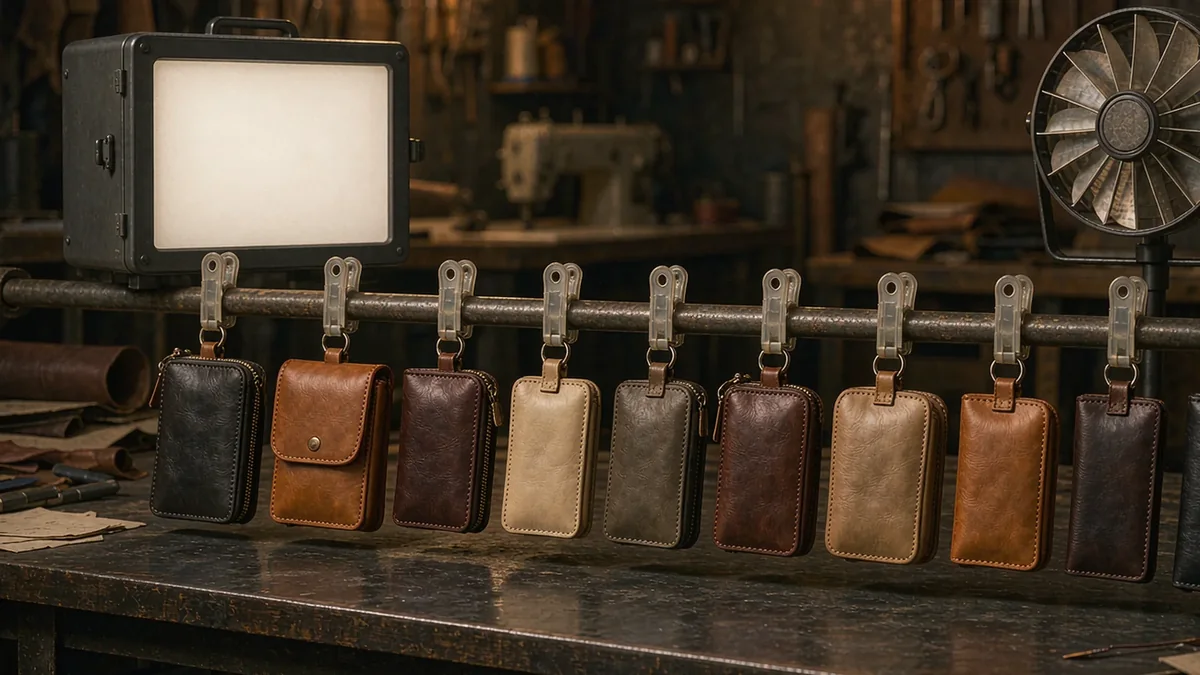
Start outside and work in. Look at the piece under three illuminants in a light booth, because a fault that is invisible under daylight can be obvious under retail fluorescent. Then work through the surfaces systematically rather than in the order your eye happens to take.
- View the piece under D65, TL84 and incandescent in sequence and note any metamerism.
- Check panel alignment at every seam: flap to body, gusset to front, pocket to panel, within 0.5 mm.
- Count stitch density on visible topstitching: 8 stitches per inch unless the pack states otherwise.
- Check the stitch line for consistency of distance from the edge and for any skipped or doubled stitch.
- Run a hand along every edge for build continuity, smoothness and even sheen against the reference chip.
- Check that the bag stands squarely on a flat surface and that all feet touch together.
- Check symmetry: handles matched, straps even, hardware centred on its stated datum.
- Confirm surface cleanliness: no adhesive residue, no tool marks, no stray pen or gauge marks.
The checklist, part two: internal and function
The inside of a bag is where a client forms a private judgement, and it is where assessments are most often cursory. Open every pocket, run a hand along every lining seam, and check that the lining is anchored rather than floating. Then use the bag: load it with a realistic weight and carry it, because several faults only appear under load.
- Open and close every pocket and check that each is anchored, not floating inside the body.
- Run a hand along every lining seam for tension consistency and any open stitch.
- Check the lining for clean corners, no puckering at the base and no visible adhesive.
- Load the bag with a realistic weight and carry it, checking handle comfort and strap behaviour.
- Check that the bag holds its shape loaded, and that the closure still engages without strain.
- Check that the interior volume is usable and that nothing intrudes into it unexpectedly.
The checklist, part three: hardware and closure
Hardware is assessed in two ways at approval: by hand on the piece, and by record from the component testing that preceded it. The hand check catches seating and feel; the record catches whether the component itself passed its regime. Both are needed, because a closure can pass component testing and still be poorly set.
- Cycle every closure twenty times by hand and note any change in resistance or sound.
- Check that every plate seats flatly with no rocking, and that escutcheons centre within 0.5 mm.
- Check plating shade against the reference clasp under D65 and TL84.
- Confirm the component record: 0.5 microns plating minimum, 24 hours salt spray, 5,000 cycles, 25 kg pull.
- Check that feet, rivets and anchors are set evenly and that no leather is distorted around them.
- Check that magnetic closures separate at the specified force and do not open unintentionally.
The checklist, part four: colour and measurement
Colour is measured, not judged. Place the production panel beside the signed reference on a neutral grey card, view at about 60 centimetres under D65, and read the Delta E. Our standing limits are 1.0 or better for a body panel against the reference and 0.8 between adjacent panels on one bag. Then measure the piece against every dimension in the pack and record the deviation.
| Check | Method | Threshold | If it fails |
|---|---|---|---|
| Body panel shade | Instrument against the signed panel, D65 | Delta E 1.0 or better | Hold; measure a second draw before deciding |
| Adjacent panels | Instrument, same piece, D65 | Delta E 0.8 or better | Reject the piece; check the cutting sequence |
| Plating shade | Compare to the reference clasp, D65 and TL84 | No visible separation | Reject the piece; review the bath record |
| Body dimensions | Measure against the pack | ±1 mm structured, ±1.5 mm soft | Record deviation; structural if beyond |
| Hardware position | Measure from the stated datum | ±0.5 mm | Reject the piece; check the jig |
| Stitch density | Count over one inch | 8 per inch on visible calfskin | Reject; reset the machine and re-sample |
| Edge build | Compare sheen and build to the chip | No visible variation | Re-finish and re-present |
What to record at approval
An approval is a set of records, not a handshake. Capture the measurement sheet with every dimension and its deviation, photographs of the piece under each illuminant including close views of hardware and edges, the colour reading, the component test records, and the signed sample itself. The record should let someone a year later reconstruct exactly what was approved without asking anyone.
Where an approval is given with a noted exception — a detail accepted despite deviating — that exception is written down with the reason. Unrecorded exceptions are how a bulk order inherits a fault nobody agreed to, and how an argument starts at final inspection months later.
Measurement sheet
Every dimension in the pack with the measured value and the deviation. Blank fields are the ones that become arguments in bulk.
Photographs
The piece under D65, TL84 and incandescent, plus close views of every closure, edge and brand mark with a scale reference.
Component records
Plating thickness, salt spray, cycle and pull results for the batch, logged against the bath identity.
Noted exceptions
Any deviation accepted deliberately, written with the reason. An unrecorded exception becomes a tolerance nobody agreed to.
How to decline a sample
Declining is straightforward when it is evidence-based. Number the findings, classify each as critical, major or minor, and state which are structural and which are local. Give the piece back with the list rather than with an impression, and say what would make it approvable. A decline that names the correction is a request; a decline that says the piece feels wrong is an argument.
It is also worth being clear about the difference between declining and re-specifying. Declining asks for the pack to be met; re-specifying changes the pack. Both are legitimate, but they carry different costs and different calendars, and conflating them is how a programme loses weeks while believing it is in correction.
Would I accept five hundred pieces like this one? If the honest answer is no, the sample is not approved, whatever the calendar says.
After approval: sealing the reference
Once signed, the sample is dated, photographed and stored flat, away from light, in a sealed sleeve. It travels nowhere except to the bench when a question arises. A second piece, where one exists, is kept as a working reference for inspection, and the two are compared periodically so that drift in the working reference is caught before it causes a wrong decision.
A correction made after approval costs more than one made before it: re-cutting and re-finishing one panel costs around USD 4.80 in bench time on a sample, and the same correction made after bulk has been cut costs the run. That asymmetry is the reason the checklist exists, and the reason it should be worked through slowly rather than skimmed.
Who should be in the room
Approval goes better with three roles present and only one decision-maker. Someone from the design side to judge intent, someone from the bench to explain what is physically achievable, and one person who decides. Committees do not approve well, because each member optimises for a different outcome: design for intent, production for feasibility, buying for date. Those tensions are legitimate and should be voiced, but they have to be resolved by one person at the end of the session rather than left open.
Where the decision-maker cannot attend in person, we send measured photographs under a named illuminant and a completed measurement sheet rather than asking them to judge from a video call. Colour and texture do not survive compression, and an approval given over a call is an approval of an image.
Working through the checklist in one session
The full twenty-four points take about ninety minutes on a structured bag, and that is time well spent. Work in the order given: external, internal, hardware, colour, measurement, then records. Do not skip to the parts you care about, because the parts nobody checks are the ones that become the standard. Where a point cannot be assessed — no light booth available, no colour instrument to hand — say so and defer rather than guessing.
- Checklist points
- 24 across external, internal, hardware, colour and measurement
- Assessment time
- About 90 minutes on a structured bag
- Illuminants
- D65, TL84 and incandescent, viewed in sequence
- Body panel shade
- Delta E 1.0 or better against the signed panel under D65
- Adjacent panels
- Delta E 0.8 or better on the same piece
- Panel alignment
- Within 0.5 mm at every seam
- Stitch density
- 8 stitches per inch on visible calfskin topstitching
- Hardware position
- ±0.5 mm from the stated datum
- Closure cycling
- 20 cycles by hand at approval; 5,000 on a rigged frame per style
- Component record
- 0.5 microns plating, 24 hours salt spray, 25 kg pull
- Correction cost after approval
- Around USD 4.80 per re-cut and re-finished panel
- Minimum order quantity
- 500 pieces per style per colourway
- Sampling lead time
- 6 to 10 working days, 12 to 15 for complex constructions
- Bulk lead time
- 35 to 50 days from approved sample
- Shipment terms
- FOB Xiamen
Approval in one paragraph
- Treat approval as the specification finally written in leather. Before starting, confirm five conditions: a versioned pack, the previous correction list, the signed colour panel, a rested piece and one person who can decide. Work the twenty-four points in order — external, internal, hardware, colour, measurement — recording every deviation rather than trusting an impression. Hold Delta E 1.0 on body panels, 0.8 between adjacent panels, 0.5 mm on alignment and hardware position, and 8 stitches per inch on visible topstitching. Record photographs, measurements and component records, note any accepted exception in writing, then seal the sample away from light.
Approve against a standard, not a feeling
Send us your style and we will return the approval checklist completed against your pack, with measurements, colour readings and component records. Request a sampling consultation and quotation at /contact-quote/.
Frequently Asked Questions
What does approving a sample actually commit me to?
It makes the piece the reference for bulk. Every dimension becomes the target, every unspecified tolerance becomes the one on the piece, and every fault you accept becomes acceptable in production.
What conditions must hold before I assess a sample?
Five: a complete versioned pack, the previous round's correction list, the signed colour reference panel in the room, a piece rested at least a day after finishing, and one person present who can decide.
How long does a proper approval assessment take?
About ninety minutes on a structured bag, working twenty-four points across external, internal, hardware, colour and measurement. Rushing it is how unexamined details become the standard.
How should colour be checked at approval?
Measured, not judged. Place the panel beside the signed reference on a neutral grey card, view at about 60 centimetres under D65, and read the Delta E: 1.0 or better on body panels, 0.8 between adjacent panels.
How many times should a closure be cycled?
Twenty times by hand at approval to check feel, seating and sound, alongside the component record showing 5,000 cycles on a rigged frame, 24 hours salt spray and a 25 kg pull for the batch.
What should be recorded when a sample is approved?
The measurement sheet with every deviation, photographs under each illuminant including close views, the colour reading, component test records, and the signed sample itself, dated and stored.
How do I handle a deviation I am willing to accept?
Write it down as a noted exception with the reason. An unrecorded exception becomes a tolerance nobody agreed to and surfaces as an argument at final inspection months later.
How do I decline a sample constructively?
Number the findings, classify each by severity, distinguish structural from local, and state what would make the piece approvable. Evidence-based declines are requests; impression-based ones are arguments.
What is the difference between declining and re-specifying?
Declining asks for the pack to be met and costs a correction. Re-specifying changes the pack and costs a new round with a new calendar. Conflating them loses weeks while appearing to be in correction.
How is the approved sample stored?
Dated, photographed and stored flat in a sealed sleeve, away from light. A second piece serves as the working reference for inspection, and the two are compared periodically for drift.
What does a post-approval correction cost?
Re-cutting and re-finishing one panel costs around USD 4.80 in bench time on a sample. The same correction made after bulk has been cut costs the run, which is why the checklist is worth ninety minutes.
Should I check the inside of the bag as carefully as the outside?
Yes. The interior is where a client forms a private judgement and where assessments are most cursory. Open every pocket, run a hand along every lining seam and check that the lining is anchored.
People Also Ask
What should I check before approving a bag sample?
External surfaces under three illuminants, interior and function under load, hardware feel and seating, colour measured against a signed panel, and every dimension against the pack's tolerances.
Why is a signed sample so important?
It is the reference bulk is inspected against. Without it, quality becomes a matter of opinion at the most expensive moment, which is final inspection of a finished lot.
Can I approve a sample with a known fault?
You can, provided the fault is recorded as a noted exception with the reason. Silently accepting a deviation converts it into an agreed tolerance nobody agreed to.
How do I know if a sample is good enough?
Ask whether you would accept five hundred pieces like it. If the honest answer is no, it is not approved, regardless of what the calendar says.
What happens after a sample is approved?
It is sealed and stored, material is called off, the line is scheduled and the bulk window of 35 to 50 days begins. Changes after that point are re-specifications rather than corrections.
Sources and further reading
Every figure on this page is either our own programme data or attributed below. Open the originals before you write them into a specification.
- ISO 2859-1:1999 Sampling procedures for inspection by attributesInternational Organization for Standardization Defines the inspection level and accept-reject framework applied to bulk lots measured against the approved sample.
- ISO 9001:2015 Quality management systemsInternational Organization for Standardization Framework for design verification, document control and the retention of approved reference samples.
- CIE colour difference metrics and standard illuminantsInternational Commission on Illumination Source of the D65 reference and the Delta E limits applied when sample colour is measured at approval.
- REACH Annex XVII restrictions, including nickel releaseEuropean Chemicals Agency Compliance record that should be checked before a sample carrying plated hardware is approved.
- Reporting on sampling, approval and sourcing in luxury supply chainsSourcing Journal Industry reporting on how approval discipline at sampling determines quality outcomes in bulk production.