How to Inspect Craftsmanship on a Luxury Sample Bag: Five Checks, Three Methods
To inspect craftsmanship on a luxury sample bag, run five checks in order: count the stitch pitch over 25.4 mm, measure symmetry rather than eyeballing it, read the edge build under a 10x loupe, seat-test every hardware fixing, and follow the load path through the lining. Three methods are available — unaided, bench tools and laboratory — and the right one depends on whether you are approving a sample or releasing a run.
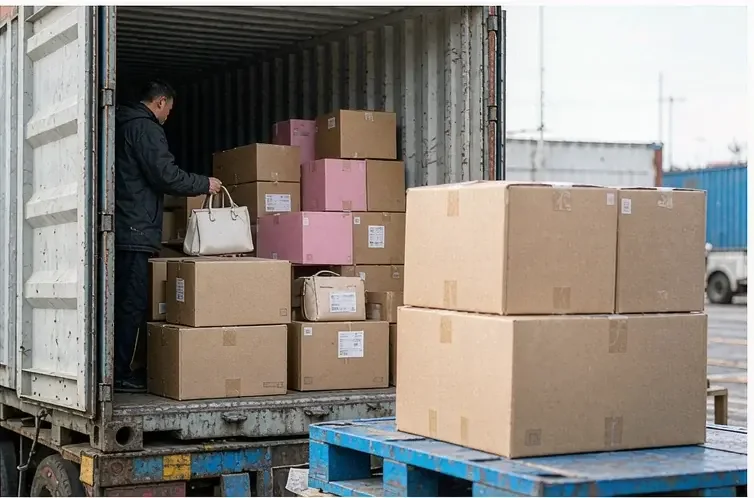
Three Ways to Read a Sample, Compared
Craftsmanship on a sample can be read three ways, and the mistake most buyers make is using the first when the situation calls for the third. An unaided read catches silhouette, balance and obvious seam drift in about ninety seconds. A bench-tool read with a loupe, a calliper and a pull gauge catches pitch, gauge, plating and closure force. A laboratory read catches what the first two cannot see at all: colour fastness, finish adhesion and coating behaviour under salt spray.
| Method | What it catches | Time and cost | Use it when |
|---|---|---|---|
| Unaided read | Silhouette, balance, symmetry, seam drift, handle set | 90 seconds, no cost | Sorting samples on a rail before shortlisting |
| Bench tools | Pitch, gauge, plating thickness, closure pull, edge build | 15 minutes, a loupe and a calliper | Approving a sample before it goes into bulk |
| Laboratory | Colour fastness, finish adhesion, coating durability | 3-5 days, third-party report | Releasing a first bulk run or changing a material |
| Goods-in plan | Distribution of the same faults across a carton | AQL 2.5 under ISO 2859-1 | Every bulk release, without exception |
Check One: Pitch, Counted Over 25.4 mm
Pitch is the fastest honest measure of how a seam was made. Count stitches over 25.4 mm at three points on each seam — the start, the middle and the corner — and write the three numbers down. On heavy gauge the target is 7-8 per inch, and the important figure is not the count but the spread: if the three points disagree by more than one stitch, the seam was made by hand at an inconsistent draw or by a machine with a slipping feed.
- Counting length
- 25.4 mm at three points per seam
- Target pitch on heavy gauge
- 7-8 stitches per inch
- Acceptable spread
- No more than one stitch across the three points
- Thread position
- 0.1-0.2 mm below the surface of the panel
- Loupe magnification
- 10x, used at every corner and at both handle joins
- Back-stitch at the finish
- 3 stitches minimum, buried not clipped
Thread position is read at the same time and matters as much as the count. A thread sitting proud of the surface will lift out of the hole the first time the fold flexes; one buried more than 0.2 mm means the draw was over-tightened and the panel is puckering between holes. Both look correct at arm's length and both are obvious at 10x.
Check Two: Symmetry, Measured Not Eyed
The eye is generous with symmetry and the customer is not. Measure handle drop on both sides and accept no more than 2 mm of difference; set the body on a hard surface and check that it does not rock by more than 1 mm; and sight the closure from directly above to confirm the plate sits on the centre line. Three measurements, under two minutes, and they catch the faults that get a piece returned.
- Handle drop, left against right: no more than 2 mm of difference.
- Base level on a hard surface: no more than 1 mm of rock across the four feet.
- Closure plate on the centre line, sighted from directly above rather than at an angle.
- Gusset depth equal at both ends, measured at the base seam rather than by eye.
- Stitch line deviation no more than 0.5 mm from the marked channel over 100 mm.
The last of those is the one that separates a good sample from a good run. A stitch line that wanders 0.5 mm over 100 mm is invisible on one piece and unmistakable across forty on a shelf, because the eye reads the repetition rather than the deviation. It is also the fault most often waved through at approval and most often raised at goods-in.
Check Three: Edge Build and the Flex Test
Edge is where a sample is most likely to be presented well and perform badly. Look for three coats rather than one: at 10x a properly built edge shows thin, even layers, while a single thick coat shows a rounded bead with a slightly different sheen. Then flex the fold twenty times and look along it for a hairline. A correctly built edge shows nothing; a single thick coat cracks within the first ten cycles.
Three coats
Thin layers at 0.10-0.14 mm wet, sanded 400 then 800 grit between the second and third. At 10x the layers read as distinct bands, and the flex test leaves no hairline after twenty cycles.
One thick coat
A rounded bead proud of the panel with a different sheen from the face. It photographs well, passes an unaided read, and cracks along the fold inside the first ten flex cycles.
Under-cured
Surface skinned over with solvent trapped beneath. It looks correct at despatch, then lifts away from the fold in a single skin, usually starting at a corner where the coat is thickest.
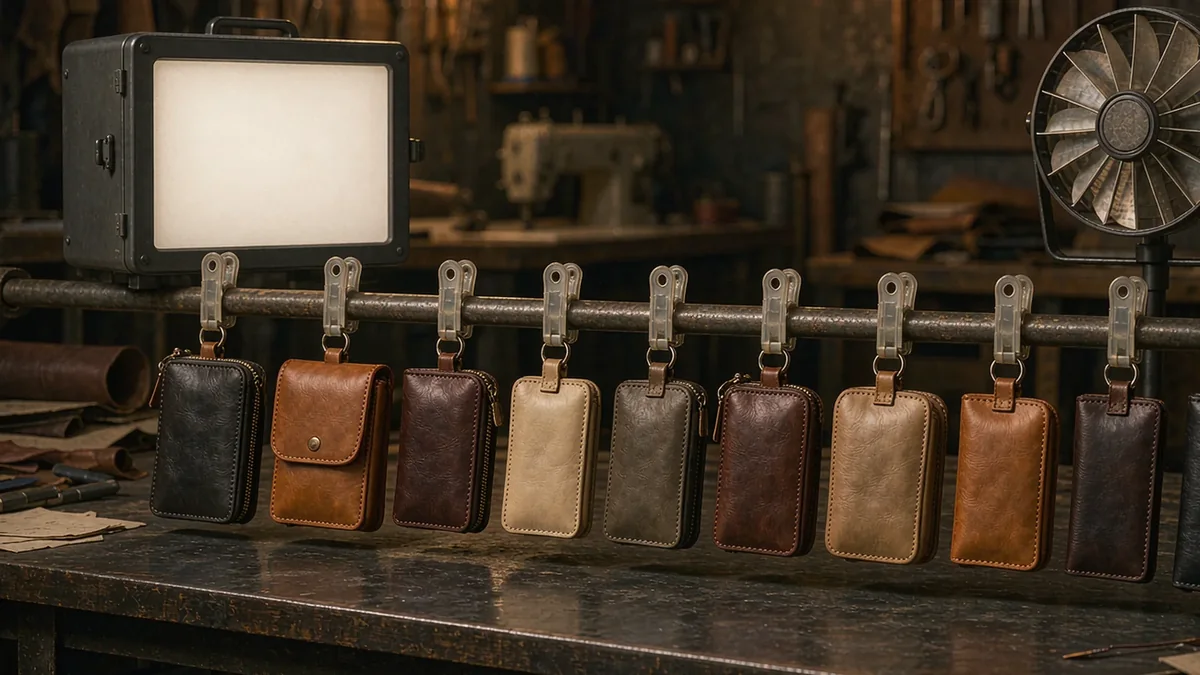
Check Four: Hardware Seating and Plating
Hardware is checked by seating rather than by appearance. Every screw should be seated flush with a torque check that leaves no mark; every plate should sit flat against the panel with no gap readable at the edge; and a magnet should release at 1.2-1.6 kgf on a pull gauge. Then look at the high points under the loupe: plating at 0.15-0.3 µm over a nickel barrier still reads warm at the contact points, while thin plating shows the base metal as a grey bloom on the raised edges.
- Screw torque: seated flush, no cam-out mark on the head, checked on every fixing.
- Plate seating: flat to the panel, no gap readable at the edge under a fingernail.
- Closure pull: 1.2-1.6 kgf on a pull gauge, sampled rather than tested once.
- Plating: warm at the high points under 10x; a grey bloom means the coating is too thin.
- Salt spray: 24-hour report before bulk release, 48-hour where the piece is used outdoors.
Check Five: Interior, Lining and Load Path
The interior is where a sample reveals whether it was made to be looked at or to be used. Follow the load path: handle join to reinforcement to body seam to base board. At each junction, ask what carries the weight when the piece is loaded, and check that the reinforcement reaches the stitch line rather than stopping 5 mm short of it. Then turn the lining out and confirm the seam allowance is trimmed and the pocket bags are anchored at both ends.
Reinforcement that stops short of the stitch line is the single fault most likely to produce a return within a season. It looks tidy on the bench and fails the first time the piece is carried loaded rather than held.
Pocket bags deserve a line of their own because they are skipped more often than any other interior check. Anchor them at both ends rather than one, confirm the seam allowance is trimmed to 6 mm so it does not print through the lining, and pull gently on each one to see whether the anchor takes the load or the lining does. A pocket bag anchored only at the top will drop its contents into the body of the piece within a season, and the customer will describe it as a lining failure rather than an anchoring one.
What a Sample Cannot Tell You
A sample is one piece, made by one bench, on one day, from one hide. It cannot tell you the spread across five hundred, and no amount of inspecting it will. What the sample establishes is the specification: pitch, gauge, edge build, closure force and reinforcement reach, all written down with tolerances. What establishes whether the run matches is the goods-in plan drawn at AQL 2.5 under ISO 2859-1, plus the laboratory report on the material itself.
That is why the two laboratory tests belong at bulk release rather than at approval. Colour fastness to rubbing, tested under ISO 105-X12, and finish adhesion under ISO 11644 describe how the material behaves; they do not change from sample to sample in a way a bench-tool read would catch. Requesting them once per material, per colourway, is enough. See luxury quality control for how the plan is drawn.
Turning Findings Into a Written Specification
Every finding from the five checks becomes a line on the specification with a number and a tolerance. Pitch becomes 7-8 per inch with no more than one stitch of spread across three points; symmetry becomes 2 mm on handle drop and 1 mm of rock; edge becomes three coats at 0.10-0.14 mm passing twenty flex cycles; hardware becomes 1.2-1.6 kgf and plating at 0.15-0.3 µm; reinforcement becomes reaching the stitch line. Written that way, the sample approval is a contract rather than an opinion.
One more line belongs on the specification and is often missed: what happens when a piece fails it. Naming a tolerance without naming the consequence leaves the bench to decide, and a bench under schedule pressure will decide in favour of shipping. Writing that a seam failing the pitch check is re-worked rather than passed, and that a carton exceeding the re-work reserve is re-sorted at the house's cost, turns the same tolerance from a preference into an instruction.
Inspection in one line
- Inspect the sample to write the specification, not to approve a piece. The piece will be remade five hundred times; only the numbers travel with it.
Programme Timing
Our programme runs through our validated partner factory Quanzhou Yingming Bags, an SGS-validated site with 7 production lines and roughly 200,000 pcs per month of capacity, holding export experience since 2014. Sampling takes 6-10 working days, or 12-15 on a complex build; bulk occupies 35-50 days; minimums sit at 500 pcs per style and colourway; and shipments leave FOB Xiamen with FOB, CIF and DDP terms all available. Inspection is drawn at AQL 2.5 under ISO 2859-1 with a re-work reserve held, and leather is tested against ISO 3376 for tensile strength. Material selection is covered on luxury materials.
Send us the sample you are unsure about
Send the silhouette, hardware direction, quantity per colourway and the faults you have already seen. You will receive a written inspection specification with tolerances on all five checks. Request a quote.
Frequently Asked Questions
How do you inspect craftsmanship on a luxury sample bag?
Run five checks in order: count stitch pitch over 25.4 mm at three points, measure symmetry rather than eyeballing it, read the edge build under 10x with a twenty-cycle flex test, seat-test every hardware fixing, and follow the load path through the lining.
What stitch pitch should a luxury sample have?
Seven to eight stitches per inch on heavy gauge, counted over 25.4 mm at three points on each seam. The critical figure is the spread: if the three points disagree by more than one stitch, the draw was inconsistent or the feed was slipping.
How much asymmetry is acceptable on a sample?
No more than 2 mm of difference in handle drop between the two sides, no more than 1 mm of rock when the body is set on a hard surface, and the closure plate on the centre line when sighted from directly above.
How can you tell whether an edge has three coats?
At 10x magnification a properly built edge shows thin, distinct layers; a single thick coat shows a rounded bead with a different sheen. Confirm with twenty flex cycles on the fold — a correct edge shows nothing, a thick one cracks within ten.
What closure force should a sample have?
A magnetic closure should release at 1.2-1.6 kgf on a pull gauge. Below roughly 0.8 kgf the flap drifts open when the body is set down, and above 2.0 kgf the customer has to brace the piece to open it.
Why does reinforcement need to reach the stitch line?
Because that is where the load transfers from the handle to the body. Reinforcement stopping 5 mm short of the stitch line looks tidy on the bench and fails the first time the piece is carried loaded, which is the most common cause of a return within a season.
What can a sample not tell a buyer?
It cannot tell you the spread across five hundred pieces. A sample is one piece from one bench on one hide. What it establishes is the specification; what establishes whether the run matches is a goods-in plan drawn at AQL 2.5 under ISO 2859-1.
Which laboratory tests belong at bulk release?
Colour fastness to rubbing under ISO 105-X12 and finish adhesion under ISO 11644, requested once per material per colourway. Both describe how the material behaves rather than how a particular piece was assembled, so they do not need repeating per unit.
How long should a bench-tool inspection take?
About fifteen minutes with a 10x loupe, a calliper and a pull gauge. That is enough for pitch at three points per seam, gauge at five points, symmetry, edge build and closure force on a structured body.
What plating thickness should be specified on hardware?
Gold at 0.15-0.3 µm over a nickel barrier layer. Below roughly 0.15 µm the high points wear through and the base metal shows as a grey bloom on the raised edges, which should be evidenced with a 24-hour salt spray report before release.
How should inspection findings be recorded?
As numbers with tolerances on the specification: pitch and spread, handle drop and rock, coat count and flex cycles, closure force and plating thickness, reinforcement reach. An approval written that way is a contract rather than an opinion.
How long does sampling and bulk take?
Sampling takes 6-10 working days, or 12-15 on a complex build, and bulk occupies 35-50 days at 500 pcs per style and colourway. Shipments leave FOB Xiamen, with FOB, CIF and DDP terms all available.
People Also Ask
What magnification is enough to inspect a luxury bag?
Ten times. It resolves stitch pitch, thread position and edge layer structure, which are the three things that decide whether a seam and an edge were built correctly. Beyond 10x you are looking at grain rather than construction.
Should a sample be inspected before or after it is approved?
Before, and the findings should be written into the approval. An approval without numbers leaves the bench free to interpret, and the interpretation drifts by the second repeat of the run.
How do you check a bag without any tools?
Lift it by the handle, run a thumb along the edge, open and close the closure five times, and set it on a hard surface to see whether it rocks. Ninety seconds, and it catches silhouette, balance and obvious seam drift.
Why does a sample look better than the bulk run?
Because it was made slowly by one bench with time to correct. The run is made to the same specification at cycle, so the specification is what has to be written down — that is what travels, not the piece itself.
Is laboratory testing needed for every colourway?
Once per material per colourway is enough. Colour fastness and finish adhesion describe the material rather than the unit, so repeating them per piece adds cost without adding information.
Sources and further reading
Every figure on this page is either our own programme data or attributed below. Open the originals before you write them into a specification.
- ISO — International Organization for StandardizationISO Publisher of ISO 2859-1 for the AQL 2.5 plan, ISO 105-X12 for colour fastness to rubbing and ISO 11644 for finish adhesion.
- SATRA Technology CentreSATRA Independent testing body for leather goods, referenced for flex, rub fastness and hardware corrosion test methods.
- Leather Working GroupLeather Working Group Tannery audit protocol evidencing hide traceability behind the material tests requested at bulk release.
- European Chemicals AgencyECHA Regulator for REACH, whose Annex XVII restrictions apply to the dyes, edge coatings and metal finishes used on the piece.