How Luxury Bag Inspection Catches Stitching Failures: Six Failure Modes, Six Readings
How does inspection catch a stitching failure before a client does? By reading numbers rather than appearance. Six failure modes account for almost every returned seam: skipped stitches, loose tension, over-tension, perforation, missing back-tack and thread shade mismatch. Each has a reading with a tolerance attached — density counted over a 25 mm gauge against a target of 8-9 stitches per inch, loop position checked at the seam face, back-tack confirmed within 12 mm of the seam end, and a pull test to 180 N on the handle run. None of those require an opinion.
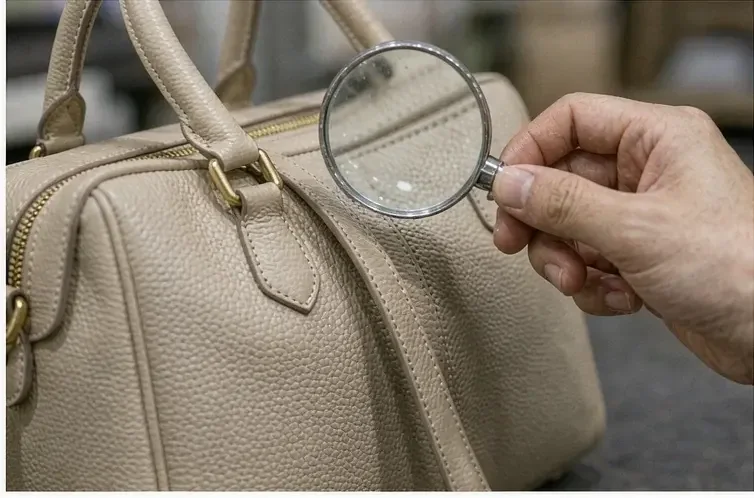
Why a Seam Fails Before It Looks Wrong
Stitching is the one operation where a deviation of two tenths of a millimetre changes nothing visually and everything structurally. A seam can sit perfectly straight, hold its line around the gusset and photograph beautifully while carrying six stitches fewer per inch than specified, or while its last four stitches rest on nothing but air because nobody back-tacked. Appearance tells you the line is true; only a counting gauge tells you the joint will hold.
- Density is invisible from a metre away and decisive under load, so it is read rather than eyeballed.
- Tension faults show themselves only at points where two materials of different thickness meet.
- Perforation damage accumulates, so each extra pass over the same hole weakens the join permanently.
- A missing back-tack looks identical to a correct one until the day the seam unravels at its end.
- Thread shade drifts against the leather under one light source and disappears under another.
Six Failure Modes and What Each One Means
Naming the mode matters more than counting it, because each one points at a different cause and therefore a different correction. A skipped stitch is usually a needle or a timing problem; a pucker is usually a feed problem; an unravelled end is a discipline problem. Treating them all as poor workmanship produces lectures rather than repairs.
| Failure mode | How it reads | Usual cause |
|---|---|---|
| Skipped stitch | Gap larger than one stitch pitch in the line | Blunt needle, wrong point, or hook timing drift |
| Loose tension | Thread loop visible on the under face | Bobbin tension set below the running specification |
| Over-tension | Puckering along the seam line on calfskin | Top tension above the value set at first piece |
| Perforation damage | Holes elongated or torn at the needle path | Too many stitches per inch, or re-stitching old holes |
| Missing back-tack | Last 3-4 stitches pull free under thumb pressure | Operator habit rather than machine setting |
| Thread shade mismatch | Seam thread differs from the face under D65 | Thread lot substituted without a swatch check |
Reading Density With One Gauge and Three Positions
The count is taken in three places per panel because machines drift within a single run: at the start of the seam where the take-up was set, mid-run where it settles, and at the end where heat and material drag do their work. Use a transparent 25 mm gauge laid along the seam so both sides of the joint are visible at once, and record all three readings rather than the one that agrees with the target.
- Target density
- 8-9 stitches per inch, equal to 7.9-8.9 counts over 25 mm
- Reading positions
- Start, middle and end of each seam, three readings per panel
- Tolerance band
- No more than 1 count difference between the three positions
- Gauge used
- Transparent 25 mm seam counter, recorded with calibration date
- Action limit
- Below 7 or above 10 counts over 25 mm stops the station
- Recorded frequency
- One unit per 50 on each running station, plus every first piece
Tension: Looping Versus Puckering
Tension failures are diagnosed by looking at which face of the material shows the fault, and by feeling the seam rather than viewing it. A loop visible on the underside means the lower tension is too slack relative to the top; puckering on the face means the top is pulling harder than the material can absorb. The correction is always to return to the value recorded at first-piece clearance, never to adjust by eye until the seam looks tidy.
- Read both faces of the seam, since a good top face frequently hides a looping underside.
- Pull the seam gently across its length and watch whether the thread rises away from the leather.
- Compare against the first-piece signature rather than against memory or against the previous operator.
- Reset tension to the recorded value, then re-run one test piece before resuming the station.
- Log the reset with the time, so a pattern of drift across a shift becomes visible.
Where seams join two thicknesses that differ, such as where a gusset meets a reinforced base, tension has to be set for the thicker side and accepted as slightly slack on the thinner one. Attempting to satisfy both at once produces exactly the wavering line that clients describe as poor finishing.
The Back-Tack That Decides Whether a Seam Survives
A seam does not usually fail in the middle; it fails at the end, where four or five stitches have nothing to anchor against. Back-tacking three to four stitches at each end costs under two seconds and is the difference between a seam that holds through ten years of use and one that opens the first time a client loads the bag heavily. It is also the easiest check a client can perform without any equipment at all.
- Require 3-4 reversing stitches at each seam end, taken inside the seam line.
- Keep the visible reversal within 12 mm of the seam end so it does not show as a bulk.
- Never trim the thread flush at the knot; leave a tail that is buried rather than cut at the surface.
- Check corner seams separately, where turning the material makes reversal harder to execute.
- Test by pressing the last few stitches with the thumb: none should lift or travel.
Needle and Thread: the Damage You Cannot See
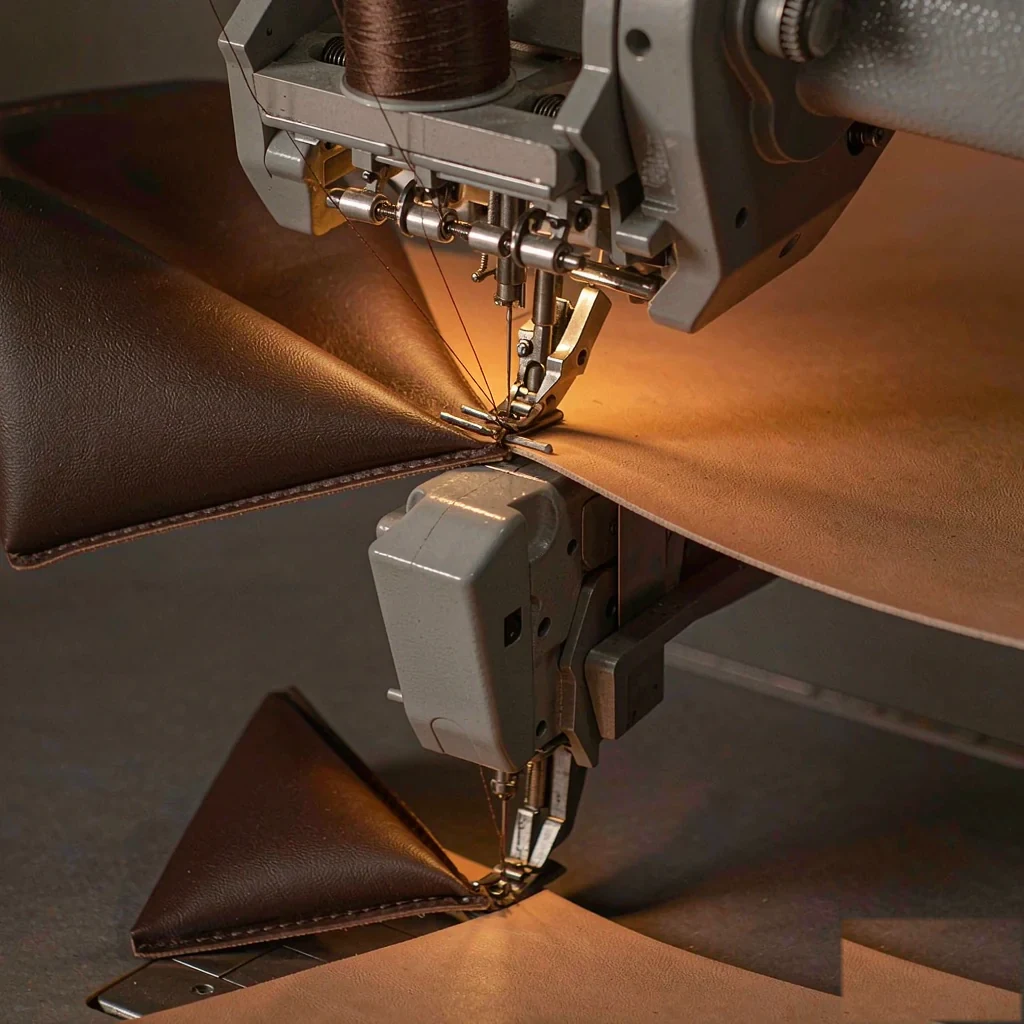
Every stitch perforates the hide, and the count determines whether those perforations behave as a line or as a tear. Below eight to the inch the joint opens under load; above ten it begins to perforate so densely that the seam becomes a line of weakness. Needle geometry matters equally, because a cutting point designed for fabric slices fibrous leather and leaves enlarged holes that no amount of tension adjustment repairs.
| Component | Typical choice for calfskin | Why it is specified |
|---|---|---|
| Needle size | NM 90/14 for single-layer body, NM 100/16 where the fold doubles | A larger needle cuts a hole the thread will not fill |
| Point type | Leather point, angled rather than a fabric cutting point | Cuts a slit along the grain instead of removing fibre |
| Thread construction | Bonded filament polyester, Tex 40 | Bonding resists abrasion in the needle eye during long runs |
| Thread lot control | One lot per style, recorded against the pack | Prevents a shade or lustre change midway through a lot |
| Needle change interval | Every 8 working hours, or immediately after any breakage | A blunt needle raises heat and elongates the holes |
Thread Shade Read Under One Light
Thread and leather reflect differently, so a pair that agree in daylight can separate sharply under the warm lighting used on a shop floor. Read both together under D65 in a light booth against the sealed reference, and record the Delta E between them in the same way you record it between hides. Where a construction deliberately uses a contrast thread, the reading still applies, because the target shifts rather than disappears.
- Match under D65 and check the same card under warm shop lighting before release.
- Keep one sealed thread card per colourway inside the pack, not in a drawer elsewhere.
- Record the thread lot reference against the lot identity on the inspection sheet.
- Re-read after any break in supply, since the same article number is not always the same dye lot.
- Treat lustre as part of the match: two threads of identical colour but different sheen read as different colours.
Pull Testing: What the Seam Must Actually Hold
Destructive tests are run occasionally rather than continuously, because the unit under test does not survive them. Their purpose is not to police the bench but to keep the density figure honest: if a seam set at eight to the inch regularly fails the pull target, then either the thread is wrong for the construction or the specification needs revising, and neither conclusion is reachable by looking.
- Handle run pull
- 180 N sustained for 10 seconds at the attachment
- Shoulder strap anchor
- 180 N applied at the anchor point without movement
- Body seam strength
- No failure below the reading recorded at first-piece clearance
- Test frequency
- One unit per 1,000, or one per lot where the lot is smaller
- Failure response
- Hold every unit made since the previous in-line reading
- Seam sample length
- 50 mm coupons tested in both machine and cross directions
Repair Rules: When Unpicking Makes Things Worse
Every unpicked seam leaves holes that have already been stretched, and re-stitching through them does not restore the original strength because the fibre has been cut. This is why repair should be limited in number and never performed invisibly on a load-bearing joint. Where a seam fails twice at the same position, the replacement is made from new material rather than recovered from the failed unit.
- Allow one unpick and re-run per panel on non-load-bearing seams only.
- Never re-run through existing holes on a handle, strap or suspended pocket.
- Replace any panel whose reinforcement was damaged during unpicking.
- Record every re-run against its unit number, so patterns appear on the sheet.
- Escalate to a construction review once two units show the same re-run at the same position.
Where This Sits in the Wider Plan
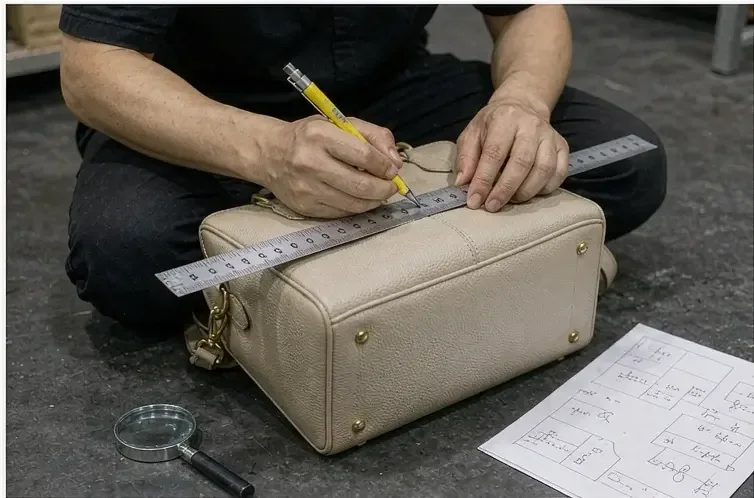
Stitch checks are one checkpoint among seven, and they sit fourth in the sequence, after incoming material, cutting and skiving and before edge finishing, hardware seating and the final draw. Readings taken in this position are recorded in the same lot file as everything else, and documentation handling for assembling that file starts at USD 4.80 per lot. Our validated partner factory Quanzhou Yingming Bags, an SGS-validated site, has run export programmes since 2014 across 7 production lines at about 200,000 pcs per month, with sampling taking 6-10 working days, bulk 35-50 days, and 500 pcs per style and colourway as the minimum order quantity.
Get the stitch readings for your construction
Send the construction drawings, the material and where the load sits. You receive the density target, thread and needle specification, back-tack rule and pull-test limits written for your style. Request a quote.
Frequently Asked Questions
How many stitches per inch should a luxury handbag have?
Eight to nine for a structured calfskin body, which equals 7.9 to 8.9 counts over a 25 mm gauge. Below roughly seven the seam opens under load; above ten the needle perforates densely enough to turn the stitching line into a weakness. The useful control is consistency: the three readings on one panel should differ by no more than one count.
Why is stitch count read at three positions on one seam?
Because machines drift inside a single run. The start carries whatever tension was set at clearance, the middle is where the machine settles, and the end is affected by heat, drag and thinning thread supply. Taking one flattering reading hides exactly the variation that produces returns, so all three go on the sheet.
What causes skipped stitches on leather?
Most often a blunt needle, an incorrect point for the material, or hook timing that has drifted. A fabric cutting point slices leather fibre and leaves enlarged holes, while a worn needle generates heat that stiffens thread and changes how it seats. Either way the fix lies at the machine rather than in asking for more care.
How do you tell loose tension from over-tension?
Look at both faces and then feel the seam. A loop visible on the underside means the lower tension is slack relative to the top, while puckering on the face means the upper tension pulls harder than the leather can absorb. Always reset to the value recorded at first-piece clearance rather than adjusting until it looks tidy.
Why does the end of a seam fail most often?
Because the final stitches have nothing to anchor against unless they are reversed. Three to four reversing stitches within 12 mm of the end distribute the load; without them the seam begins to unravel from the last stitch. The check takes seconds: press the final few stitches with your thumb and none should lift or travel.
What thread should be used on a calfskin handbag?
A bonded filament polyester at Tex 40 is a reliable default, since bonding resists abrasion in the needle eye during long runs and polyester holds colourfastness better than untreated alternatives. Whatever is chosen should be sealed to one thread lot per style, recorded against the pack so a substitution cannot pass unnoticed.
Which needle size suits leather handbag work?
NM 90/14 for a single-layer body and NM 100/16 where the material doubles through a fold, always with a leather point rather than a fabric cutting point. Change needles every eight working hours and immediately after any breakage, because a dull needle raises heat and elongates holes that thread can no longer fill.
Can a stitching fault be repaired rather than remade?
Sometimes, with limits. One unpick and re-run is acceptable on a non-load-bearing seam, but never through existing holes on a handle, strap or suspended pocket, because the fibre has already been cut. Any panel whose reinforcement was disturbed during unpicking should be replaced with new material rather than recovered.
How is thread colour matched to leather?
Under D65 in a light booth against the sealed reference, recording the Delta E in the same way it is recorded between hides. Re-check under warm shop lighting, because thread and leather reflect differently and a pair that agrees in daylight can separate sharply under the lamps used at retail.
What does a seam pull test prove?
That the density target actually delivers strength for that construction. One unit per 1,000 is destructively tested, with the handle run and strap anchor held at 180 N for 10 seconds. If seams set at the correct density still fail, either the thread is wrong for the construction or the specification needs revising.
How often should stitch checks happen during a run?
One unit in fifty on each station, plus a mandatory reading on every first piece cleared after a machine set-up. Increase the rate after any reset, and hold every unit produced since the previous in-line reading if a destructive test fails. Written frequencies survive contact with a busy month; informal ones do not.
Is a perfectly straight seam evidence of good stitching?
No. A seam can run perfectly true while sitting at six stitches per inch, carrying loops on its underside, or resting on unbacked-of final stitches at both ends. Straightness tells you the line is correct, which is a presentation question; density, tension and anchorage answer the structural one, and only instruments read them.
Where does this check sit in the overall plan?
Fourth of seven checkpoints, after incoming material, cutting and skiving, and before edge finishing, hardware seating and the final draw. Readings join the same lot file as everything else, with documentation handling from USD 4.80 per lot for assembly. Taking them fourth matters because later stations can no longer reach the joint.
People Also Ask
How do you check stitch quality on a handbag?
Count stitches over a 25 mm gauge at three positions per panel against a target of 8-9 per inch, then read both faces for looping or puckering and press the last few stitches to confirm the back-tack. Straightness alone proves nothing about strength.
What stitch count is too many for leather?
Above ten to the inch. Extra stitches do not strengthen a seam; they perforate the hide so densely that the stitching line becomes a perforated tear. That is why the upper action limit sits at 10 counts over 25 mm rather than merely inspectors favouring finer work.
Why does my seam unravel at the ends?
Because there is no reversal. Three to four reversing stitches inside the seam line, kept within 12 mm of the end, anchor the final stitches. Without them they pull free the first time the bag is heavily loaded, which is one of the least costly faults to prevent and one of the most damaging to ship.
Which needle should I specify for leather?
NM 90/14 with a leather point for single-layer calfskin, moving to NM 100/16 where the material folds. The point matters as much as the size: a fabric cutting point slices fibre and leaves holes the thread cannot fill, producing loose seams that no tension adjustment will correct.
How strong should a handbag seam be?
Enough to hold 180 N at the handle run and at each strap anchor for 10 seconds without movement. Body seams are judged against the value recorded at first-piece clearance, with one unit per 1,000 tested destructively so the figure stays tied to real performance rather than to appearance.
Sources and further reading
Every figure on this page is either our own programme data or attributed below. Open the originals before you write them into a specification.
- ISO — International Organization for StandardizationISO Publisher of ISO 4915 for stitch type classification and ISO 4916 for seam type classification, used to specify how a seam is described on a technical pack.
- ASTM InternationalASTM International Source of test methods for seam strength and thread performance referenced when setting pull-test limits for load-bearing joins.
- AATCC — American Association of Textile Chemists and ColoristsAATCC Publishes evaluation procedures for colour difference and grey scale rating, applied when thread shade is compared against leather.
- National Institute of Standards and TechnologyNIST Reference for calibration and traceability of the counting gauges and force gauges used for density and pull readings on the bench.